Pre-Installation
Before you begin installation, remember to P.A.C.E. yourself with the checklist below.
P.A.C.E. Pre-Installation Checklist
- Prepare Job Site
- Acclimation
- Control Subfloor Moisture
- Environmental Conditions
Material Preparation
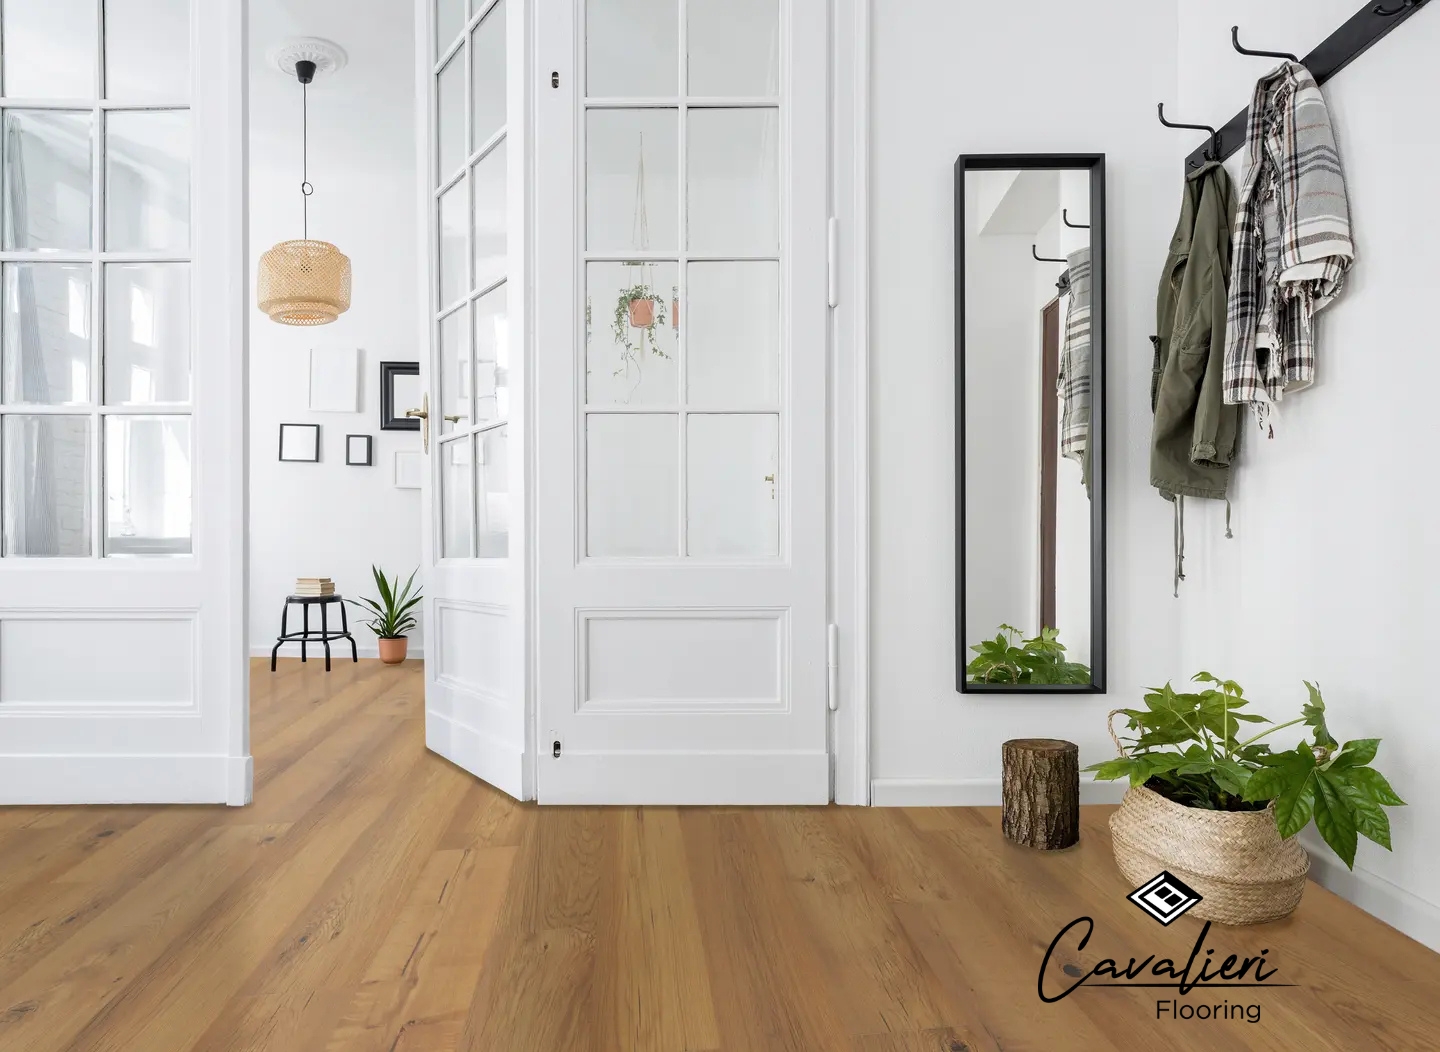
Order 5% extra for cutting waste and grading. Inspect all planks before installation. Shuffle from multiple cartons for best color variation.
Subfloor Requirements
- Clean, dry, flat to 3/16" per 10-foot radius
- Wood: Securely fastened, moisture ≤ 13%
- Concrete: Fully cured (60+ days). Moisture barrier required. Max 8 lbs calcium chloride or 90% RH
- Existing floors: Well-bonded and level
Radiant Heat
Compatible with floating installation only. Max surface temp 85°F.
Floating Click-Lock Installation
Installation Steps
Step 1: Measure room width. Ensure final row ≥ 1/3 plank width.
Step 2: Begin along longest wall with 1/4" spacers. Cut tongue off first row.
Step 3: Connect planks end-to-end — angle at 20° and press down.
Step 4: Cut last plank in each row. Start next row with cut piece if ≥ 8" long. Stagger joints by 6".
Step 5: Angle new rows into previous row at 20° and press to lock.
Step 6: Use rubber mallet and tapping block. Never strike directly.
Step 7: Rip final row to width maintaining 1/4" gap.
Step 8: Remove spacers. Install transitions and baseboards.
Care & Maintenance
- Sweep or vacuum regularly. Use soft-bristle broom or vacuum without beater bar.
- Damp mop with pH-neutral vinyl cleaner. No steam mops.
- Wipe up spills promptly. Use felt pads under furniture.
- Maintain temperature 60°F–80°F, humidity 35%–55%.
- Use blinds or curtains to reduce UV exposure.
Need Professional Installation?
Our expert installers serve all of Central Florida with up to 5 years warranty coverage.