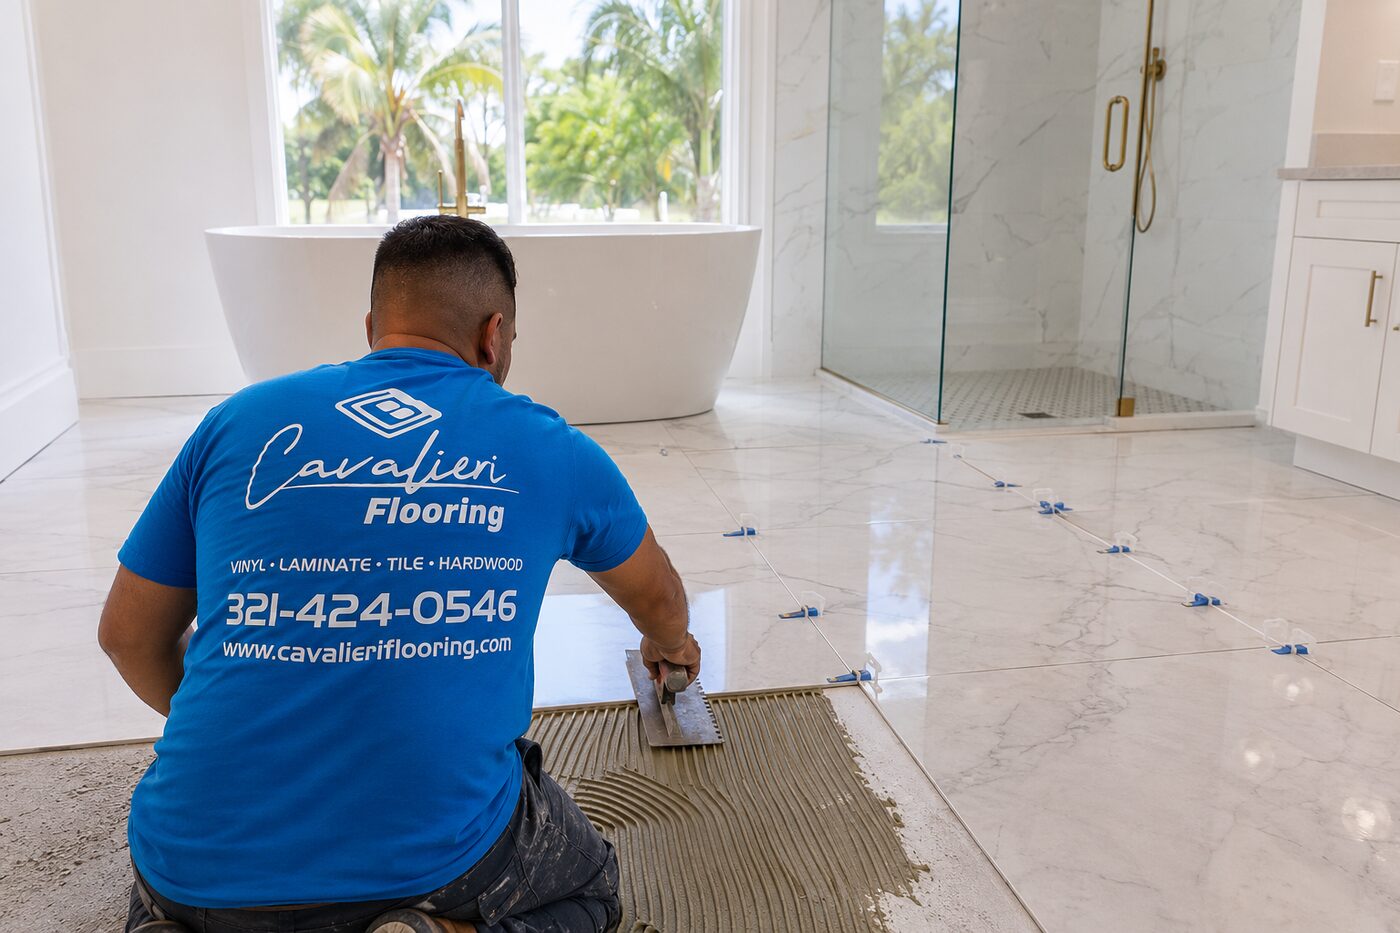
Quick answer: Yes — LVP can be installed directly over existing tile in many Florida homes, but only when the tile is flat, solid, fully bonded, and the slab passes a moisture test. Florida's concrete slabs and humidity add requirements that can make removal the smarter choice even when overlay is technically possible. The decision table below gives you a clear go/no-go for each condition.
The Decision Table: Go or No-Go for Your Tile Condition
This is the single most useful thing we can give you. Run through every condition that applies to your floor before calling anyone for an estimate.
| Existing tile condition | Install LVP over it? | Required preparation |
|---|---|---|
| Flat, solid, and tightly bonded | Usually yes | Clean thoroughly, confirm flatness with straightedge, moisture-test slab |
| Grout lines <1/8" wide and deep | Yes | No special prep for grout lines; standard clean and moisture check |
| Deep or wide grout lines (>1/8") | Possibly | Fill with Portland cement-based filler; skim-coat and allow to cure before LVP |
| Significant lippage (tile edges uneven) | Possibly | Grind high edges with angle grinder; verify within 3/16" over 10 ft before LVP |
| Hollow tiles (sound hollow when tapped) | Usually no | Remove hollow tiles, re-bond or patch; full demo if widespread |
| Cracked tiles from slab movement | Not immediately | Diagnose slab movement first; active movement = no overlay |
| Moisture coming through slab | No | Correct moisture problem first; may require membrane or moisture mitigation system |
| Floor height already near door bottoms | Usually no | Remove existing tile; adding LVP height may prevent doors from clearing |
| Waxed, sealed, or contaminated surface | Only after prep | Strip wax/sealer; degrease; verify bonding ability before LVP |
Why Florida Is Different From the Rest of the Country
Most LVP-over-tile guides are written for homes in the Northeast or Midwest — homes with raised wood subfloors, basements, and crawl spaces. Florida homes are built differently, and those differences change the rules significantly.
Concrete Slab Construction
The overwhelming majority of Central Florida homes — including most homes in Orlando, Lake Nona, Winter Garden, Kissimmee, and Oviedo — are built on concrete slabs poured directly on grade. That slab sits on soil, and Florida soil is in contact with groundwater year-round. Moisture vapor continuously migrates upward through the slab, through any flooring installed on it, and into the air in your home.
When tile is already on the slab, it acts as a partial vapor barrier — but not a complete one. Moisture can still travel through grout lines and up through the tile edges. If you install LVP over that tile without testing, you may be trapping vapor between two layers, which creates an ideal environment for adhesive failure, mold, and LVP expansion.
Year-Round Humidity
Orlando averages 74% relative humidity. That alone doesn't prevent LVP installation, but it means the stakes of getting moisture wrong are higher. A product that tolerates marginal moisture in a dry climate may fail within 12–18 months in Central Florida's conditions. We see this regularly from homeowners who had a national chain retailer install LVP without proper moisture testing.
Tile Removal Cost Is Lower Than You Think
One reason homeowners in other markets avoid tile removal is the expense. In Florida, the opposite is often true — there is a large, competitive tile-removal industry serving the renovation market, and prices are among the lowest in the country. Tile removal in Orlando typically runs $2–$5 per square foot depending on tile size and adhesive. On a 400-square-foot kitchen and living area, that is $800–$2,000 — significant, but often worth it to eliminate the compounding risks of overlay.
Moisture Testing: Non-Negotiable on Florida Slabs
No reputable Orlando flooring installer should begin LVP installation over a concrete slab — whether bare or tile-covered — without first testing for moisture vapor emission. This is not optional in Florida. It is the single most important step, and skipping it voids most LVP warranties.
Two Standard Tests
- Calcium chloride test (ASTM F1869): Measures moisture vapor emission rate (MVER) in pounds per 1,000 square feet per 24 hours. Most LVP manufacturers permit installation at ≤5–8 lbs depending on the product. Results take 60–72 hours.
- Relative humidity probe test (ASTM F2170): Measures RH% inside the slab at 40% depth. Most manufacturers permit installation at ≤75–85% RH. Results are available in as little as 24 hours with modern digital probes.
When installing over tile, the test must be performed through the tile — either through a drilled hole in the grout line or by temporarily removing one tile to expose the slab. Testing on top of tile without accessing the slab produces a result that reflects the tile, not the moisture actually reaching your LVP. An honest installer will always go through the tile.
If a contractor skips moisture testing on a Florida slab, stop and get a different quote.
Moisture failure is the leading cause of LVP warranty claims and flooring replacement within the first 2–3 years in Central Florida. No amount of product quality compensates for a wet slab.
Grout Lines and Tile Lippage
Grout lines are the second most common reason an overlay project fails — not because overlay can't work over grout, but because homeowners and even some installers underestimate how readily grout lines telegraph through LVP.
The 1/8-Inch Rule
Most LVP manufacturers specify that grout lines must not exceed 1/8 inch (3mm) in width and depth before overlay. Lines wider or deeper than this can cause the LVP to flex slightly each time weight passes over the joint, eventually cracking the plank or causing joint separation above the grout line.
Large-format tile (18×18 or 24×24) typically has narrower, shallower grout lines and is generally the best candidate for overlay. Standard 12×12 tile with normal grout joints often works. Older 4×4 tile with thick grout joints, or any tile with sanded grout in wide joints, is a poor candidate without significant prep.
Filling and Skim-Coating
For grout lines that exceed the 1/8-inch specification, the correct preparation is filling with a Portland cement-based floor-leveling compound or patching material — not caulk, not sanded grout, not any flexible product. The fill must be rigid when cured, feathered flush with the tile face, and allowed to fully cure before LVP installation. A light skim-coat over the entire tile surface is the most thorough approach and provides the most uniform substrate.
Lippage
Lippage is the height difference between adjacent tile edges. It occurs when tiles were not perfectly leveled during installation, or when the slab has settled slightly since the tile was installed. Even 1/16-inch lippage at every tile joint creates a washboard effect that the LVP must span — and on a floating floor, that flexing causes joint stress over time.
High tile edges can be ground flush with an angle grinder equipped with a diamond cup wheel — this is standard prep on professional overlay jobs. After grinding, the floor must be within the LVP manufacturer's flatness specification (typically 3/16 inch per 10 feet) before installation proceeds.
Hollow or Loose Tiles: The Deal-Breaker
Hollow tiles are the condition that most frequently turns an overlay project into a full demolition project — and the homeowner only finds out after the LVP is already installed.
To check for hollow tiles, tap every tile systematically with a hard knuckle or a rubber mallet. A solid, bonded tile makes a dense, flat sound. A hollow tile sounds noticeably different — higher-pitched, with a slight resonance or "drum" quality. Walk the entire floor. Mark every hollow tile with painter's tape before your installer arrives.
Never install LVP over hollow tile without addressing it first.
A hollow tile will eventually crack under foot traffic load. When it cracks, the cracking force transmits directly through the LVP above — cracking planks, popping joints open, or creating raised ridges. The repair at that point requires removing both the LVP and the tile, which costs significantly more than proper prep would have cost upfront.
If hollow tiles are isolated (one or two tiles), they can sometimes be injected with epoxy through a small drilled hole and re-bonded to the slab. If hollow tiles are widespread — which is common in Florida homes with older floors and slab settlement — full tile removal is usually the most cost-effective path.
What the Added Height Actually Means
Installing LVP over tile raises the finished floor height by the thickness of the LVP — typically 4–12mm depending on the product. That number seems small, but in a Florida home it affects multiple things simultaneously:
- Door clearance: Interior doors need to clear the finished floor. If your existing tile is already close to the door bottom, adding LVP may require undercutting the door jamb and trimming the door itself. This is manageable but adds cost.
- Sliding glass door clearance: Florida homes almost always have sliding glass doors to patios, lanais, and pool areas. These doors have very limited bottom clearance and often cannot be adjusted. The added height from LVP overlay frequently prevents sliding doors from operating correctly — sometimes making tile removal the only viable option.
- Dishwasher clearance: Dishwashers are typically installed at a fixed height relative to the counter. Adding floor height reduces the clearance underneath, which can prevent the dishwasher from being removed for service. Pull the dishwasher out and measure the available clearance before committing to overlay.
- Transition heights: Where the new LVP floor meets adjacent flooring — carpet in bedrooms, tile in bathrooms, existing hardwood — the height difference increases. Transitions that were previously flush may require reducer profiles or become trip hazards.
- Appliance clearance: Refrigerators, ranges, and washers/dryers all have vertical clearance requirements. Check manufacturer specifications before adding any floor height.
Sliding Doors and Appliances: The Florida-Specific Problem
This section is missing from every competitor guide we reviewed, and it is the cause of a significant number of failed overlay projects we have seen in Central Florida.
Florida building code and standard construction practice result in sliding glass doors installed with very little clearance between the door bottom track and the finished floor — typically 1/4 to 3/8 inch at most. When you add even a 6mm LVP plank over existing 12mm tile, you've consumed most of that clearance and may have already eliminated it entirely.
Before any overlay decision is made, measure the clearance under every sliding glass door in the affected area. Slide a playing card (approximately 0.3mm) or use a feeler gauge. If the clearance is already marginal, the only flooring option that preserves door function is tile removal followed by a thinner LVP profile, or acceptance of a raised threshold transition.
Warranty: Check Before You Commit
LVP warranty coverage for installation over existing tile varies by manufacturer. Before you purchase any product for an overlay application, verify:
- Does the manufacturer permit installation over existing tile?
- What is the maximum moisture vapor emission rate they allow?
- What are their grout-line depth and width limits?
- What is their flatness specification?
- Does the warranty require professional installation?
All of our LVP products at Cavalieri Flooring come with their installation guide — our team will confirm warranty eligibility for your specific tile condition and product selection before purchase. Never assume; always verify.
Cost Comparison: Overlay vs. Tile Removal in Orlando
| Cost factor | LVP overlay (keep tile) | LVP after tile removal |
|---|---|---|
| Tile removal cost | $0 | $2–$5 per sq ft in Orlando |
| Grout prep / skim-coat | $0.50–$1.50/sq ft if needed | $0 (slab is clean after removal) |
| Moisture mitigation (if needed) | Same cost either way | Same cost either way |
| Door trimming | Likely needed — $50–$150/door | Usually not needed |
| Transition complexity | Higher — more height difference | Lower — start from slab level |
| Risk of future failure | Higher if any tile issues remain | Lower — clean substrate |
| LVP product thickness options | Constrained by door clearance | Full range available |
| Total additional cost | $0.50–$2.00/sq ft (prep + doors) | $2–$5/sq ft (removal only) |
The math often surprises homeowners: after grout prep, lippage grinding, door trimming, and transition work, an overlay can cost only $1,000–$1,500 less than a full removal on a 600 square-foot area — while introducing a substrate with known risks. On projects with sliding doors, multiple hollow tiles, or high moisture readings, removal is almost always the better investment.
Homeowner Estimate Checklist: Send This With Your Request
When you call us — or any Orlando flooring contractor — for an estimate on LVP installation over tile, having answers to these questions ready will help you get an accurate quote faster and avoid surprises during installation.
Pre-Estimate Checklist for LVP Over Tile
The more of these you can answer, the more accurate your first estimate will be — and the fewer surprises you'll encounter on installation day.
Frequently Asked Questions
Can you put LVP over ceramic tile?
Yes, in many cases. Ceramic tile — when flat, solid, fully bonded, and passing a moisture test — is one of the better substrates for LVP overlay. The glazed surface is hard and stable. Grout lines within the 1/8-inch specification need no special treatment. The main risk factors are moisture vapor through the slab, hollow tiles, and floor height affecting doors.
Do you need to remove tile before installing vinyl plank?
Not always — but the conditions that require removal are common in Florida: hollow tiles, slab moisture above product limits, floor height affecting sliding doors or appliances, and widespread tile cracking from slab movement. When these conditions exist, removal is the smarter path even though it costs more upfront.
How thick can grout lines be for LVP installation over tile?
Most LVP manufacturers specify no wider or deeper than 1/8 inch (3mm). Lines beyond this must be filled with a Portland cement-based patching compound, fully cured and ground flush, before LVP installation proceeds.
How much does tile removal cost in Orlando vs. overlaying LVP?
Tile removal in Orlando typically runs $2–$5 per square foot depending on tile size and adhesive type. LVP overlay saves that cost upfront but adds prep costs (grout filling, grinding), door trimming, and transition complexity. On a 600-square-foot area, the cost gap between overlay and removal is often only $1,000–$2,000 — sometimes less than the downstream risk of overlay failure.
Does Florida humidity affect LVP installed over tile?
Yes. Florida slabs constantly emit moisture vapor, which can still reach the LVP through grout lines. A calcium chloride or RH probe test through the tile is mandatory before any overlay installation on a Florida concrete slab. Products installed without this test have no warranty coverage for moisture-related failure.
Will installing LVP over tile cause problems with sliding glass doors?
Frequently, yes. Florida homes have very little clearance between sliding glass door bottoms and the existing floor. Adding even a 6mm LVP over tile may eliminate that clearance. Measure sliding door clearance before committing to overlay — if it's under 10mm, get a professional assessment before proceeding.
Can LVP be installed over uneven tile?
Not without preparation. LVP requires the substrate to be flat within 3/16 inch over 10 feet. High tile corners or significant lippage must be ground flush before installation. Low spots must be filled with a Portland cement compound. Never install LVP over a substrate that doesn't meet the flatness specification — the planks will flex, and joints will fail.
What happens if hollow tiles are under LVP?
The hollow tile will eventually crack under traffic load. That cracking force transmits through the LVP above — cracking planks, opening joints, or creating a raised ridge. At that point the repair requires removing both the LVP and the tile, costing far more than proper demo upfront would have.
Does tile need to be cleaned before LVP installation?
Yes — thoroughly. All wax, sealer, oil, adhesive residue, and cleaning-product buildup must be removed. Even light wax residue can interfere with LVP adhesive bonds or allow floating planks to shift during installation. Use a commercial degreaser and allow the surface to fully dry before installation begins.
Does LVP warranty cover installation over tile?
It depends on the manufacturer. Many permit overlay when substrate flatness and moisture requirements are met; some void the warranty entirely for overlay applications. Always check the product installation guide before purchase. Cavalieri Flooring staff can confirm warranty eligibility for any product we carry before you commit.
Not Sure If Your Tile Qualifies for LVP Overlay?
We do on-site assessments in Orlando and surrounding areas — we'll tap the floor, check moisture, measure door clearance, and give you an honest recommendation before you spend a dollar.
Or call us now: (321) 424-0546
Related Articles & Services
- Best Flooring for Florida's Humidity — Complete Guide
- Why LVP Underlayment Is Crucial
- Why Is My LVP Buckling or Lifting?
- Professional vs. DIY Flooring Installation
- Subfloor Preparation & Repair Services in Orlando
- Floor Removal Services in Orlando
- LVP Installation Services in Orlando
- Tile Demolition and Removal Case Study in Orlando
- Shop Luxury Vinyl Plank Flooring
- Get a Free Flooring Estimate
Get an Honest Assessment — Not a Sales Pitch
At Cavalieri Flooring in Orlando, we'll tell you when overlay makes sense and when removal is the smarter investment. We've seen what happens when the wrong call is made — we'd rather give you the honest answer upfront than get a callback six months later for a flooring failure.