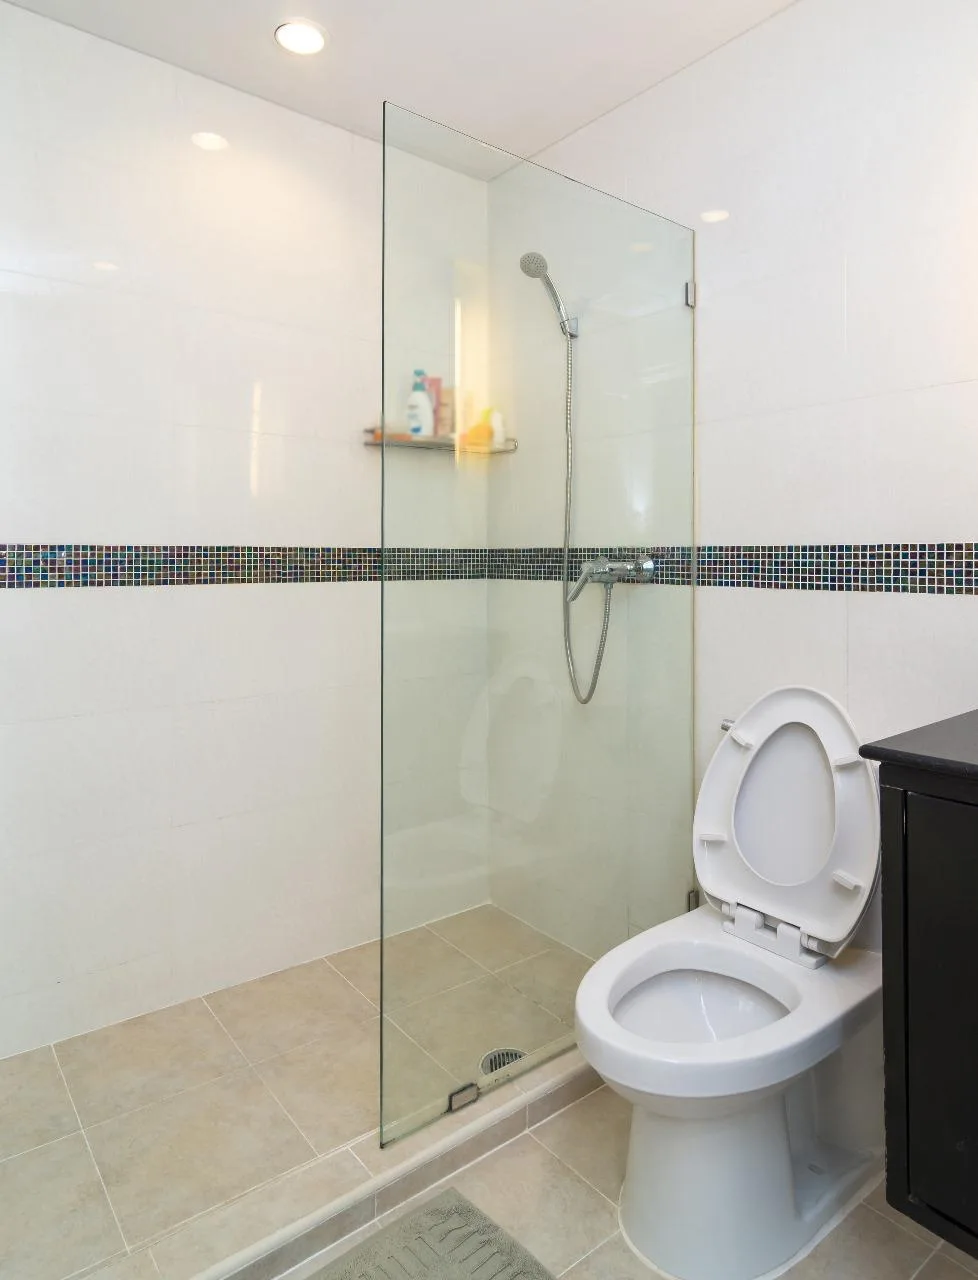
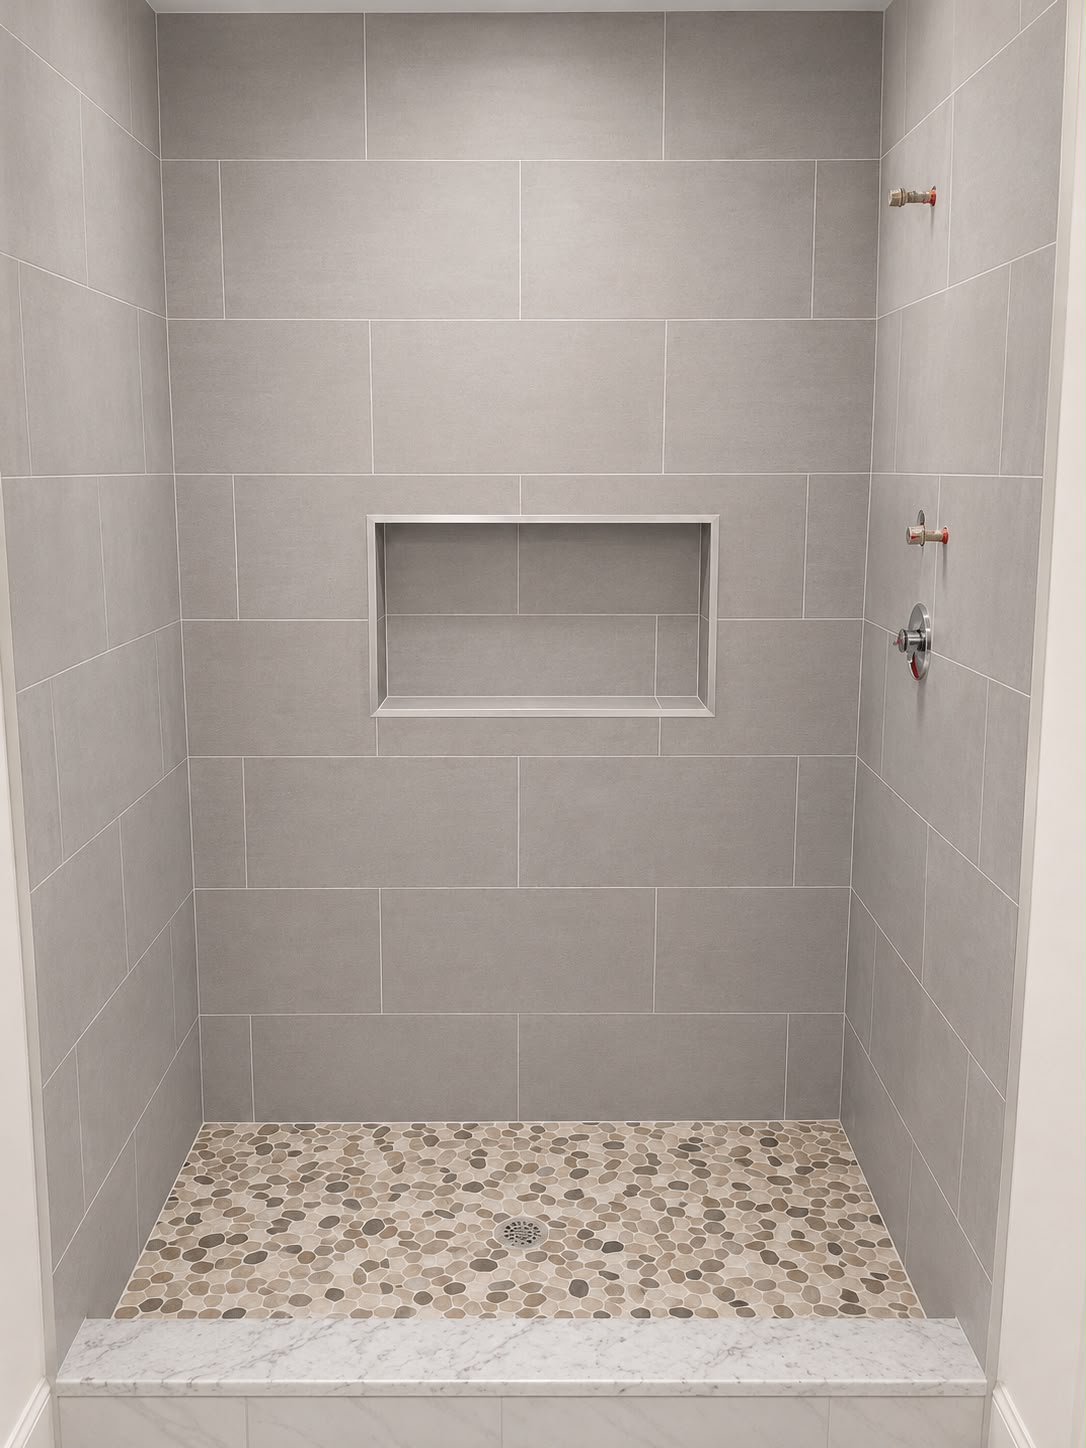
Porcelain tile installed on both the floor and walls of a bathroom in Orlando, FL — level courses, waterproofed wet areas, and a clean modern finish that looks intentional from every angle.
ResidentialTileFloor & WallOrlando, FL
Project Overview
Bathroom tile work is among the most technically demanding of all flooring and surface installation scopes. It combines the precision of floor tile installation — which demands flatness, consistent joints, and symmetrical layout — with the additional complexity of wall tile, which requires level horizontal datum lines, plumb vertical lines, and proper waterproofing of wet surfaces before any tile is applied.
This Orlando bathroom project involved tile installation on both the floor and the walls — creating a cohesive tile environment throughout the bathroom that reads as intentional and premium rather than a mix of separate surface treatments. Continuous tile from the floor up the walls, matching grout joint alignment, and a consistent grout color throughout created the unified, spa-like result the homeowner was looking for.
Floor Tile Installation
The bathroom floor tile installation started with subfloor preparation — ensuring the substrate was flat within tolerance, with any surface irregularities addressed before tile placement. The floor layout was planned from the center of the main tile field, with the layout adjusted to maintain symmetrical cuts at both pairs of opposing walls and to place full tiles in the primary sightline from the bathroom door.
Tiles were set with the appropriate thinset mortar using a notched trowel providing back-butter coverage of the full tile surface — voids under tile are a primary cause of cracking and hollow sounds in finished floors. Grout joint spacing was maintained consistently throughout with plastic spacers, and all floor tiles were checked for plane and leveled to each other before the thinset began to set.
Wall Tile Installation
Wall tile installation is an independent process from floor tile, beginning with the establishment of a perfectly level horizontal datum line across the walls. This datum — typically snapped at a height that produces symmetrical cuts at both the floor and ceiling — is the reference from which all wall tile courses are measured and set.
For wet areas, a waterproofing membrane was applied to the backer board surface before any tile was set — this step is non-negotiable and critical to the long-term performance of the installation. Any moisture that gets behind wall tile through grout joints or hairline cracks must be stopped at the membrane before it reaches the structural substrate.
Wall tiles were set plumb and level in both axes, with grout joints aligned to the floor tile joints where the floor and wall tile met — the detail that makes a bathroom tile installation look considered and premium rather than piecemeal. All corners, inside and outside, were cut and fitted cleanly, and all penetrations (plumbing valves, fixture mounts) were cut precisely to minimize visible gap at the perimeter.
Grouting and Finishing
After full cure of the thinset, joints were grouted with a quality unsanded grout in a color selected to complement the tile and minimize visible dirt accumulation over time. All grout joints were tooled consistently before initial cure and haze was removed cleanly. Final sealing of the grout protected the surface for the long term.
Floor layout centered and symmetrical at all wall pairs
Full thinset coverage — no voids under any tile
Waterproof membrane on all wet-area wall surfaces
Level horizontal datum maintained across all wall courses
Grout joints aligned between floor and wall tile
Finished bathroom tile installation across the floor and walls.
Frequently Asked Questions
Bathroom wall tile installation starts with a level horizontal datum line established across the entire wall. Tiles are laid from the bottom of this datum line upward, with consistent grout joints maintained using spacers. The first course is set to full tiles — cuts at the floor are hidden by baseboard or cove tile, and cuts at the ceiling are the least visible location. All backer board joints must be taped and waterproofed in wet areas before any tile is set.
Matching floor and wall tile is a popular choice for small bathrooms because it creates a seamless visual continuity that makes the space feel larger and more cohesive. Contrasting tile can work well in larger bathrooms or when a specific design accent is desired. The practical consideration is consistency of grout joint alignment — when floor and wall tile match in size, aligning the grout lines between floor and wall creates a premium, intentional look.
Tile cracking after installation is almost always caused by substrate movement — subfloor flex, improper thinset coverage, or substrate shrinkage. Preventing it requires: a rigid, flat substrate with minimal deflection; full-coverage thinset application with no voids under the tile; and appropriate expansion joints at perimeter and in large floor areas to accommodate thermal movement. Cavalieri Flooring follows TCNA installation guidelines to prevent these failures.
A typical bathroom tile floor and wall installation takes 3 to 6 business days: 1 day for prep and substrate work, 1 to 2 days for floor tile set and cure, 1 to 2 days for wall tile set and cure, and 1 day for grouting. Larger bathrooms, complex patterns, or significant substrate prep may add time. We give accurate timeline estimates during the initial estimate visit.
Yes. We install bathroom tile floors and walls throughout Orlando and Central Florida — from single bathroom updates to full bathroom renovations. Contact us for a free in-home estimate.