Most homeowners assume that because tile looks solid and water rolls off it, their shower is waterproof. It isn't — at least not at the tile surface. Tile and grout slow water down. They are the first line of defense. But they are not the waterproofing system. The real waterproofing happens behind the tile, in layers you never see once the shower is finished.
When those hidden layers are built correctly, a shower can last 20 to 30 years without a leak. When they're skipped, applied incorrectly, or built with the wrong materials, the shower starts failing from the inside out — often silently, for months, before any visible damage appears.
If you want to understand why your shower leaked, why a contractor's proposed repair makes sense (or doesn't), or what to insist on in a new shower build — this guide explains exactly how the system works.
💡 Key Takeaway
A properly waterproofed shower has three layers working together: the right backer board (cement or foam panel, not drywall), a continuous waterproof membrane applied to all wet surfaces before tile, and properly maintained grout and silicone caulk at the surface. All three must be correct. Skipping any one of them leads to leaks, mold, and structural damage — even if the tile looks perfect.
Tile Is Not the Waterproofing System
This is the most important thing to understand about shower construction. Dense tile such as glazed ceramic or vitrified tile is itself nearly impermeable to water — but it has gaps. Every grout joint is a potential entry point. Grout is made of cement, which is inherently porous. Unsealed grout allows water to pass through it. Even sealed grout becomes porous again as the sealer breaks down over 1–2 years. And grout cracks — especially at inside corners and the base of the wall where two surfaces meet and movement is greatest.
The practical reality is that some water gets behind shower tile in almost every shower, almost every day. The question is not whether water gets behind the tile — it's whether the system behind the tile is built to handle it.
A well-built shower is designed with the expectation that water will get behind the tile, and it manages that water appropriately — directing it back out through a waterproof membrane that doesn't allow it to reach the framing or subfloor.
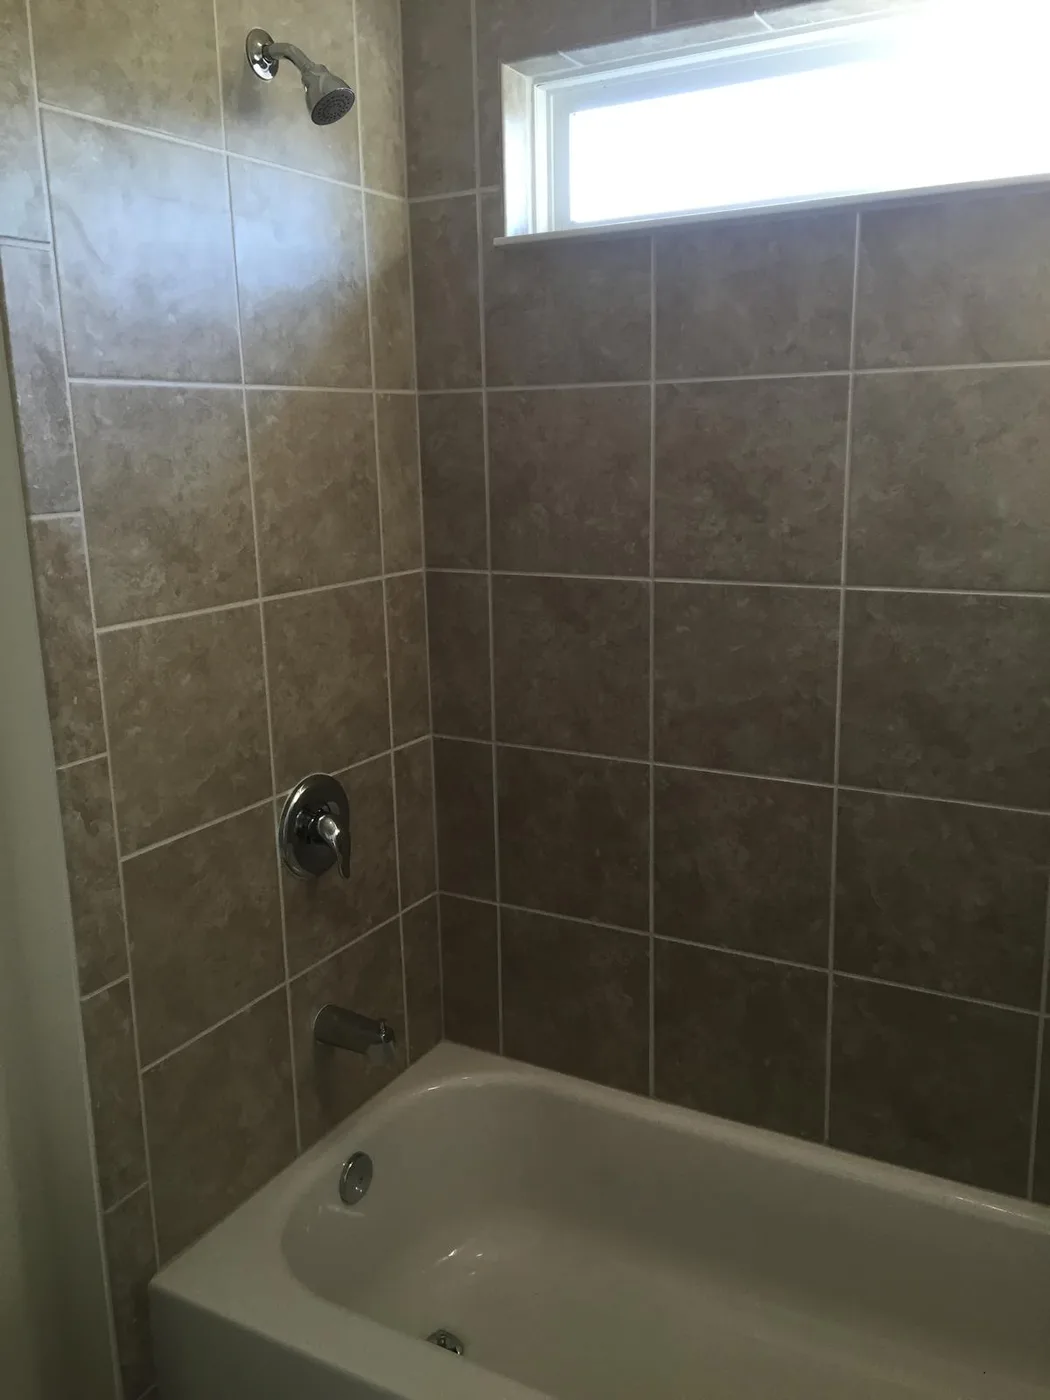
The Layers of a Properly Built Shower
A correctly waterproofed shower wall — from the framing outward — consists of these components in order:
- Framing: Wood or metal studs. Should be dry and structurally sound before anything else goes on.
- Backer board: The tile substrate — cement board, fiber-cement board, or foam waterproof panel. Applied directly to the framing. Must be rated for wet areas.
- Waterproof membrane: Applied continuously over the backer board and into all corners and transitions. This is the primary waterproofing layer.
- Thinset mortar: Applied to the membrane surface to bond the tile.
- Tile: Set into the thinset with full coverage to avoid voids.
- Grout: Fills the joints between tiles. Sealed periodically to slow water penetration.
- Silicone caulk: Applied at all inside corners and the tile-to-floor joint. Must be flexible to handle movement between surfaces.
Every one of these components must be correct for the shower to perform as designed. A failure at any layer creates a path for water to reach something it shouldn't.
Backer Board: The Foundation Layer
The tile substrate — what the tile is actually attached to — must be dimensionally stable in wet conditions and must not deteriorate when exposed to moisture over time. The three correct options are:
Cement Board (Durock, HardieBacker, Custom Building Products)
The most common shower substrate. Cement board is made of Portland cement reinforced with fiberglass mesh. It will not rot, swell, or deteriorate when wet — it can literally be submerged repeatedly without structural failure. It provides a rigid, stable surface that tile bonds to reliably. On the project we completed in Orlando's 32829 zip code, we used Durock cement board as the wall substrate after removing the deteriorated original backer material — it's our standard choice for shower walls.
Fiber-Cement Board (HardieBacker)
Similar properties to cement board, with slightly different composition. Equally appropriate for shower use. Scores and snaps more cleanly than standard cement board for some installers.
Foam Waterproof Panels (Wedi, Schluter Kerdi-Board)
The premium option. These panels are themselves 100% waterproof and can serve as both the substrate and the waterproofing layer simultaneously, reducing installation steps. They are lighter and easier to cut than cement board. Higher material cost but faster installation.
What NOT to Use
Regular drywall — including moisture-resistant "green board" or "purple board" — is not appropriate for shower tile substrate. Both will eventually absorb moisture through grout joints and deteriorate. Green board reduces moisture absorption compared to standard drywall, but it is not waterproof and is not rated for direct wet-area use. We have demolished dozens of showers in the Orlando area where the original installer used drywall or green board — the deterioration is always significant by the time a homeowner calls for help.
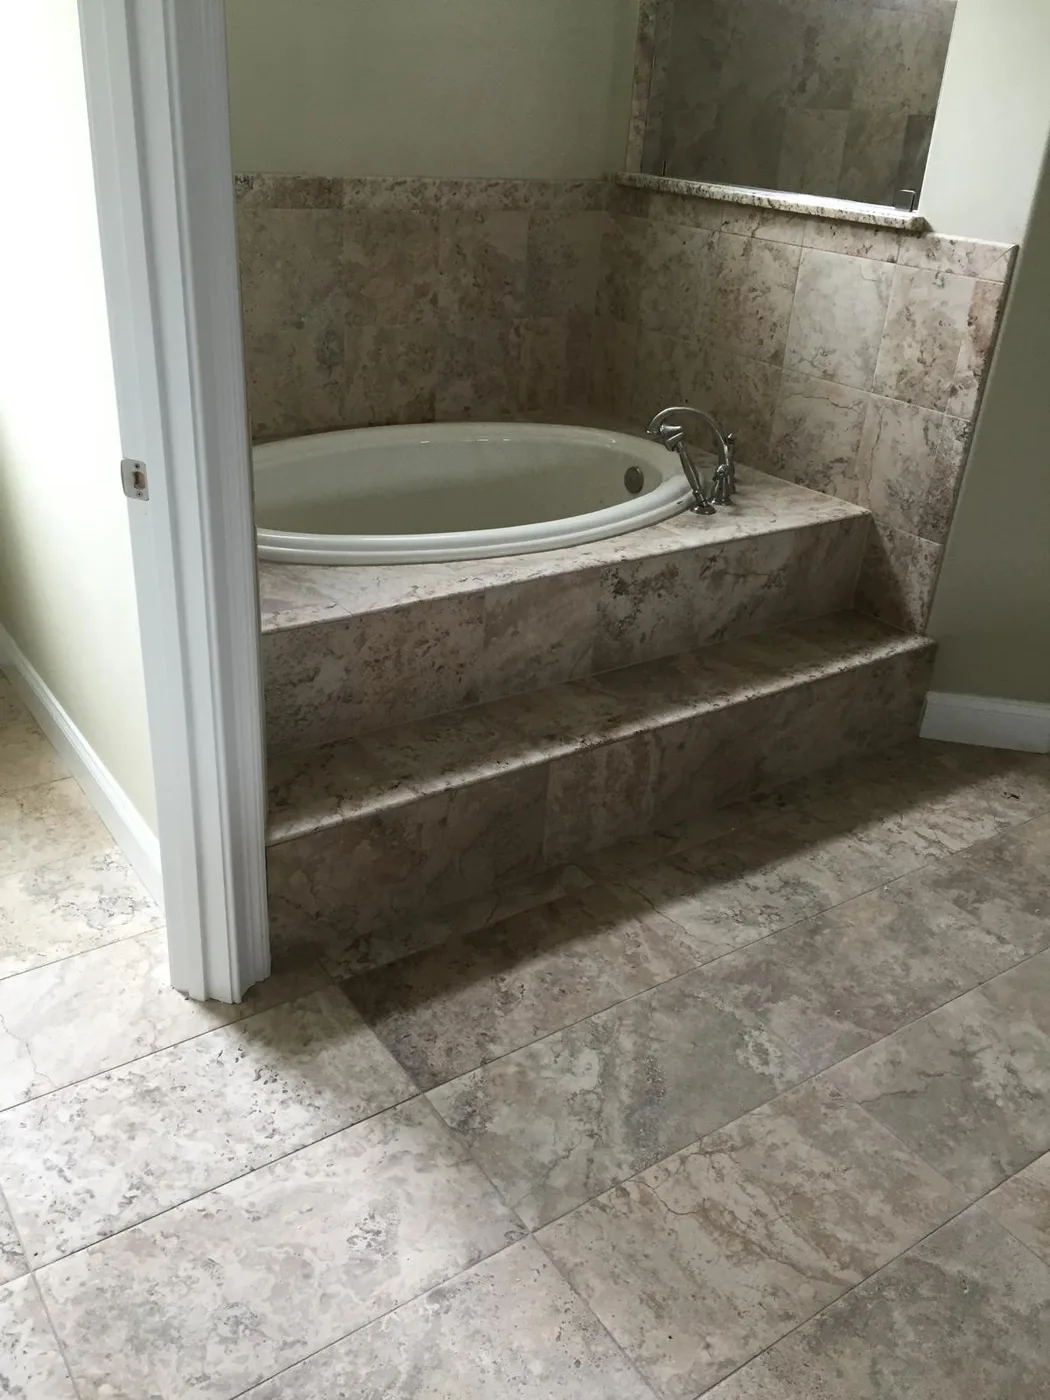
The Waterproof Membrane: The Critical Layer
The waterproof membrane is the most important component in shower waterproofing — and the one most frequently skipped or done incorrectly in budget installations. It is applied over the backer board and covers all surfaces that will be exposed to water: the walls from the floor to above the showerhead height, the floor, and all transitions and corners.
The membrane's job is to intercept any water that gets through the grout and tile, and prevent it from reaching the framing and subfloor. In a properly built shower, if every grout joint cracked simultaneously, the membrane would still keep the structure dry.
Types of Waterproof Membranes
Sheet-applied membranes (Schluter Kerdi): A fabric-faced polyethylene sheet that is embedded into unmodified thinset. Applied in overlapping sections with seam tape at joints. One of the most reliable systems when installed correctly. Requires careful technique at corners and penetrations.
Liquid-applied membranes (Laticrete Hydro Ban, RedGard, AquaDefense): Liquid polymer compounds painted or rolled onto the backer board surface in multiple coats. They cure to form a continuous, seamless waterproof layer. Easier to apply at inside corners and around fixtures. The cure time between coats must be respected — rushing the process compromises the membrane's integrity.
Foam panel systems (Wedi, Schluter Kerdi-Board): As noted above, these panels are themselves waterproof, eliminating the need for a separate membrane application on the walls. The floor still typically requires a separate floor membrane or sloped mortar bed.
Critical Membrane Details
Where the membrane is most likely to fail — and where installers most often cut corners — is at transitions and penetrations:
- Inside corners: Must be reinforced with fabric tape embedded in the membrane to prevent cracking as the two wall planes move independently.
- Wall-to-floor transition: The membrane must run continuously from the wall down onto the floor without any gap. This transition is the highest-stress point in the entire shower.
- Fixture penetrations: Every hole in the backer board — for the showerhead pipe, valve body, and any niches — must be sealed with membrane extending onto the fixture flange. An unsealed pipe penetration is a direct path for water into the framing.
- Niche edges: Shower niches cut into the wall require membrane on all interior surfaces of the niche, not just the back wall.
Grout and Caulk: The First Line of Defense
Grout and caulk are what homeowners see and interact with. They are the first lines of defense against water — but they are not permanent and require periodic maintenance.
Grout
Cement-based grout is porous by nature. Unsanded grout is used in joints under 1/8 inch; sanded grout in wider joints. Epoxy grout is non-porous and stain-resistant — an excellent choice for shower floors where grout is exposed to standing water — but requires more precision to apply. All cement grout in wet areas should be sealed with a penetrating sealer immediately after curing and resealed every 1–2 years.
Silicone Caulk at Corners and Transitions
Inside corners — where two wall planes meet, and where the wall meets the floor — must be filled with flexible silicone caulk, not grout. This is one of the most consistently misunderstood details in shower installation. Many homeowners and even some contractors grout inside corners because it looks cleaner and matches the tile joints. This always fails. The two adjoining surfaces move independently with temperature and moisture changes. Rigid grout in a flexible joint cracks within months. Silicone caulk is flexible, stays bonded, and handles the movement. It must be color-matched to the grout for aesthetics, and replaced every 5–10 years as it ages and loses adhesion.
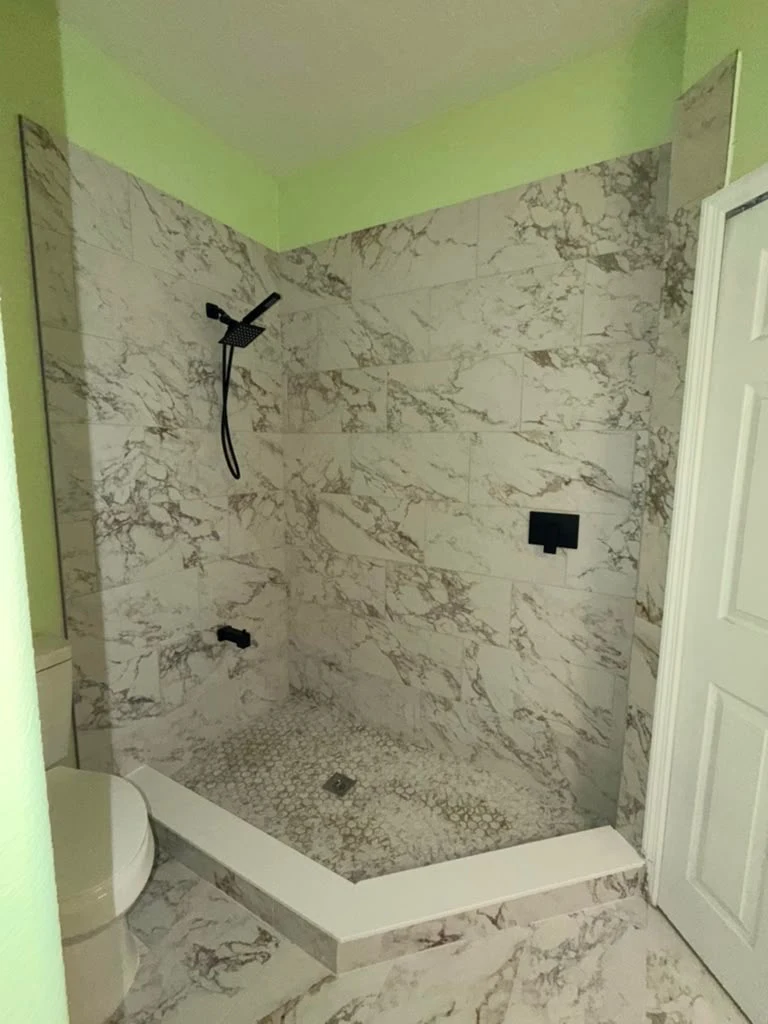
The Most Common Waterproofing Mistakes
After completing hundreds of bathroom tile installations and remodels across Orlando and Central Florida, these are the failures we encounter most often when demolishing an existing shower:
- No membrane at all: Some older showers and budget installations have no waterproof membrane — just cement board and tile. The tile and grout do most of the work, but when grout fails (which it eventually will), there is nothing behind it to stop water.
- Drywall or green board as substrate: As described above, both will absorb moisture over time and deteriorate. We often find the backer material is crumbling when we demo a leaking shower.
- Membrane not extending to floor: A membrane that only covers the walls but doesn't continue onto the floor leaves the wall-to-floor transition unprotected — which is the highest-leak-risk location in the shower.
- Grout at inside corners instead of caulk: Every grouted inside corner in a tiled shower will eventually crack. It's not a question of if, only when.
- Unsealed fixture penetrations: Holes cut for valves, showerheads, and other fixtures that aren't sealed with membrane around the pipe allow water to travel directly into the wall cavity.
- Tiling over an existing failing shower: Installing new tile over an old shower without removing the existing substrate and starting fresh leaves all of the original problems in place. The new tile temporarily hides the leak — it doesn't fix it.
Florida-Specific Waterproofing Considerations
In Central Florida, two factors make shower waterproofing more critical than in many other parts of the country:
Ambient humidity: Florida's year-round high humidity means that even a small amount of moisture behind shower tile — which would dry out and cause no damage in a dry climate — stays damp indefinitely. Mold establishes within 24–48 hours of water intrusion in warm, humid conditions. A small grout failure in an Orlando shower creates conditions for mold growth far faster than the same failure in a climate with lower baseline humidity.
Slab construction: Florida homes are almost universally built on concrete slabs. Ground-floor showers are installed directly over a slab that transmits ground moisture upward. The floor membrane in a ground-floor shower must handle both top-down water from the shower and bottom-up moisture from the slab. This makes floor waterproofing detail — particularly at the drain connection and wall-to-floor transition — especially important in Florida.
For second-floor showers in Florida homes, the stakes are even higher: a leak passes through the floor structure and into the ceiling of the room below. Learn the warning signs of a shower leaking behind the tile before damage reaches the floor below.
Frequently Asked Questions
Is tile waterproof?
Dense ceramic and vitrified tile is highly water-resistant but has gaps at every grout joint. Grout is porous and allows water to pass through over time. The tile surface is not the waterproofing system — the membrane behind the backer board is.
What is a shower waterproofing membrane?
A waterproof membrane is a continuous, water-impermeable barrier applied to shower walls and floor behind the tile backer board. It is the primary defense against water reaching the wall framing and subfloor. Membranes can be sheet-applied (Schluter Kerdi), liquid-applied (Laticrete Hydro Ban, RedGard), or foam board systems (Wedi).
What should be used as shower backer board?
Cement board (Durock, HardieBacker), fiber-cement board, or foam waterproof panels (Wedi) are the correct choices. Standard drywall — including moisture-resistant green board — is not suitable for shower walls and will absorb water and deteriorate over time.
Why do showers still leak even when they look fine?
Most shower leaks start at grout joints, failed caulk, or unsealed penetrations — not through the tile itself. When grout cracks or caulk fails at corners, water bypasses the tile surface and travels behind it. If no waterproof membrane is present, that water reaches the framing and subfloor directly.
How long does shower waterproofing last?
A properly installed waterproof membrane behind cement board backer can last 20–30+ years without failure. The components that require periodic maintenance are the grout (seal every 1–2 years) and silicone caulk at corners (inspect annually, replace every 5–10 years). These surface elements are the first to degrade — the membrane behind them should outlast the shower itself.
Planning a new shower or dealing with a leaking one?
Cavalieri Flooring installs and renovates showers across Orlando and Central Florida — with correct backer board, proper waterproof membranes, and tile set to TCNA standards. We offer free in-home estimates and will tell you honestly what your shower needs. Visit our showroom at 4301 36th St, Unit 101, Orlando, FL 32811 or call (321) 424-0546.
Get a Free Estimate