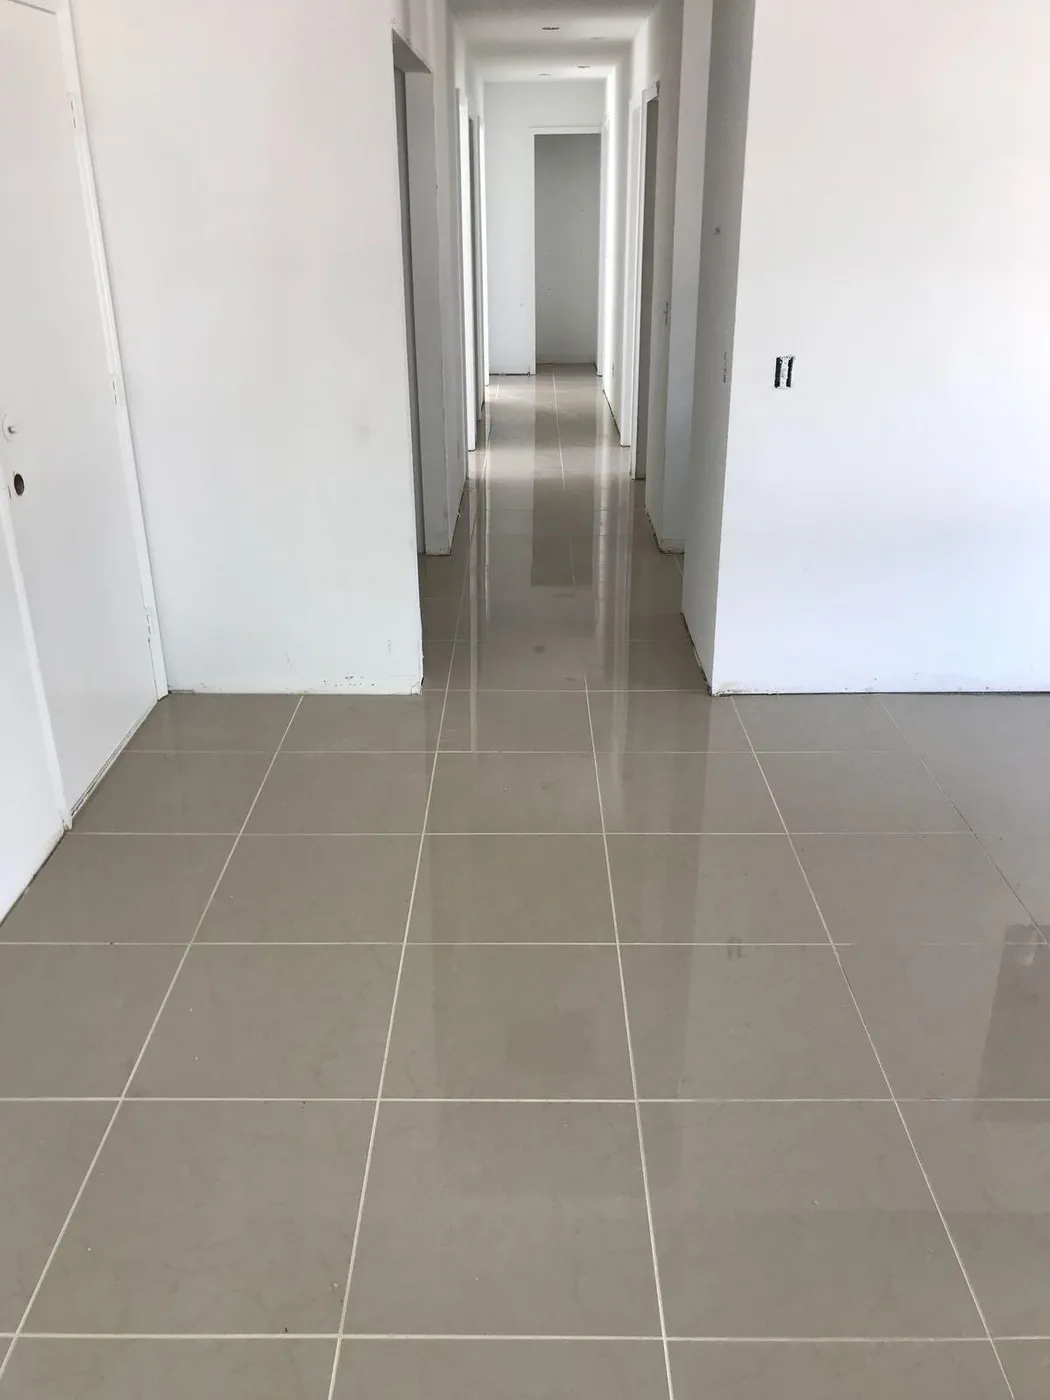
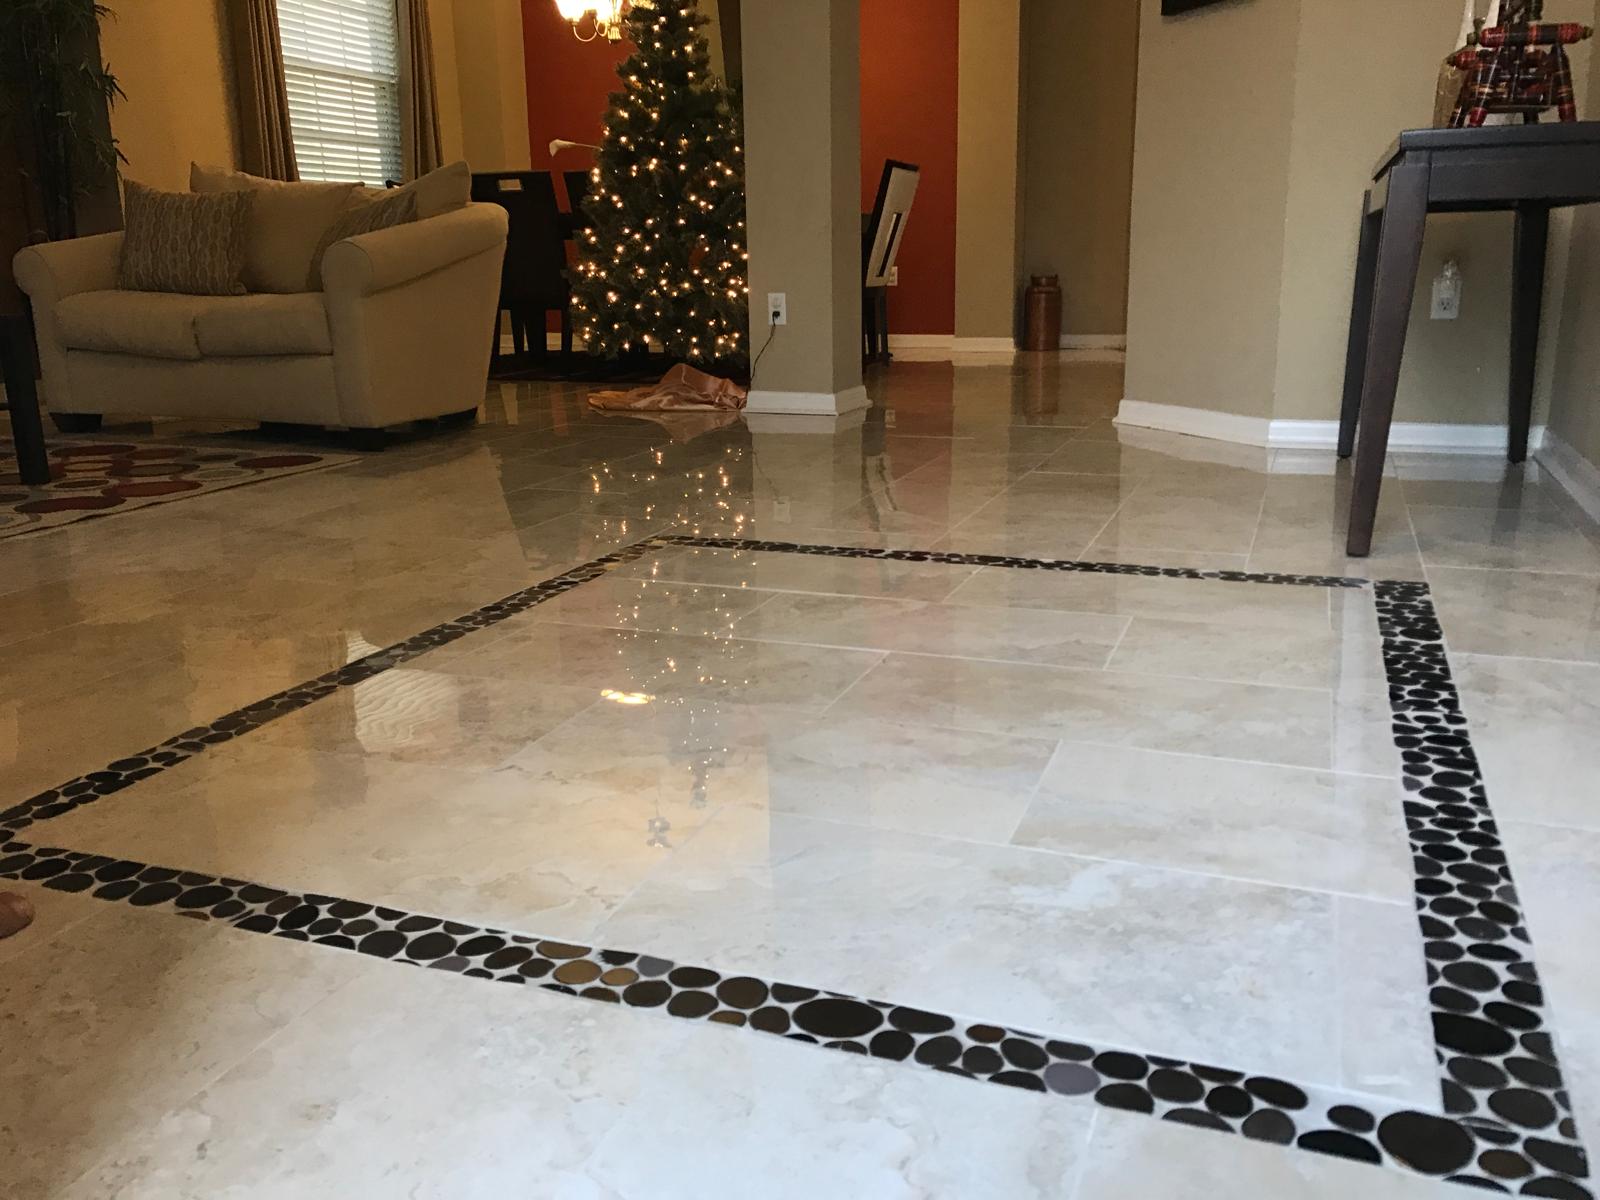
Porcelain tile floor installation across multiple room formats in an Orlando, FL home — precise layout, clean grout lines, and durable results that look great and last.
ResidentialTile FlooringMulti-RoomOrlando, FL
Project Overview
Tile floor installation is one of Cavalieri Flooring's core services — and one where the difference between a good installer and a mediocre one is clearly visible in the finished result. The precision of the layout, the consistency of grout joint width, the flatness of the finished surface, and the quality of the perimeter cuts all combine to create either a floor that looks professionally done or one that has the subtle irregularities that tell you a shortcut was taken somewhere.
This project involved tile floor installation across multiple rooms in an Orlando home — different areas with different layout challenges, each requiring individual attention to ensure the floor read correctly from the primary entry points and traffic paths in each space. The tile selection, format, and grout color were chosen to complement the home's contemporary design aesthetic throughout.
The Art and Science of Tile Layout
Every tile floor installation begins with a layout decision that affects how the finished floor looks from every entry point. The key questions are: where is the optical center of the room? Where are the primary sightlines from doorways and entry areas? How should the grout joint pattern run — parallel to the walls, diagonal, or following the room's long axis? How can the layout be optimized to avoid small, awkward cut tiles at the perimeter?
These decisions are made on paper before any tile is moved onto the floor, using a scaled drawing of each room that shows the tile grid, identifies every cut tile at the perimeter, and marks the starting point for the installation. This planning prevents the common situation where an installer gets two-thirds across a room and realizes the cuts at the far wall will be unsightly — a problem that's expensive to fix after the fact but free to avoid in advance.
Installation Process
The concrete subfloor was assessed for flatness and any necessary grinding or leveling performed before tile work began. Starting from the planned layout center, tiles were set in the planned grid pattern using a notched trowel sized appropriately for the tile format, with plastic spacers maintaining consistent grout joint width throughout.
Perimeter and obstacle cuts were made with a wet tile saw — the only tool that produces clean, chipped-free edges on porcelain tile. All cuts were dry-fit before the final adhesion pass to verify the fit before committing adhesive. Tile leveling clips were used in areas with large-format tile to prevent lippage while the thinset cured.
After full thinset cure, grout was applied with a grout float, worked into all joints, cleaned from the tile surface in sections as the grout began initial set, and haze was fully removed before full cure. Final grout sealing protected the grout from staining during the wear-in period.
Results: Clean, Level, and Consistent
The completed tile installation delivered exactly the consistent, professionally executed result that distinguishes quality tile work from quick-and-done — level tiles, consistent grout joints, clean perimeter cuts, and a layout that looks intentional from every entry point in every room. This is what tile flooring looks like when it's done right.
Layout planned for each room from primary entry sightline
Subfloor prepared to flatness tolerance before installation
Consistent grout joints throughout with plastic spacers
All cuts made with wet tile saw — clean, chip-free edges
Grout sealed on completion for long-term stain resistance
Completed tile flooring installation with a clean, level finish.
Frequently Asked Questions
In contemporary Florida homes, 12x24 has become the most popular tile format for main living areas and bathrooms, followed by 24x24 for larger rooms and 24x48 for high-end or commercial applications. These large-format tiles suit Florida's open floor plans and indoor-outdoor aesthetic — fewer grout lines, more visual continuity, and a modern look. Smaller formats like 12x12 remain popular in utility spaces and as accent tiles.
Porcelain and ceramic tile are both made from clay, but porcelain uses finer clay fired at higher temperatures, producing a denser, harder tile with very low water absorption (less than 0.5%). Porcelain is more durable, more resistant to chipping and staining, and suitable for outdoor use. Ceramic tile has higher water absorption and is softer — appropriate for walls and light residential floor use but not for high-traffic floors or wet outdoor areas. For Florida home floors, we recommend porcelain.
In most cases, yes — but it's not always the best choice. Installing over existing tile adds height (relevant at doors, transitions, and cabinetry) and assumes the existing tile is fully bonded with no hollow spots. If the existing tile has any delamination, hollow areas, or cracked sections, those failures will telegraph to the new tile layer. We assess each situation individually and recommend the approach — over-tile or full demo — that produces the best long-term result.
Consistent grout joints are maintained using plastic tile spacers placed between tiles during installation — either cross-shaped spacers for equal four-way joints, or wedge-style spacers for specific joint widths. For large-format tile, spacers are combined with a tile leveling clip system. Joint width is specified by the designer or client and maintained throughout — typically 1/16 to 1/8 inch for large-format rectified tile.
Yes. We install tile floors in a wide range of formats across homes and commercial spaces throughout Orlando and Central Florida. Our tile installation service covers everything from standard 12x12 to large-format 24x48 slabs, in residential and commercial environments. Contact us for a free estimate.