Plywood Subfloor Preparation for Flooring Installation
Securing, leveling, and prepping a plywood subfloor in Orlando, FL — the step most contractors skip and homeowners don't know to ask about, until the floor starts squeaking or showing ridges six months later.
Subfloor PrepPlywoodOrlando, FL
Project Overview
While concrete slab construction dominates in Central Florida, wood-framed homes with plywood subfloors are common throughout Orlando's older neighborhoods and in two-story construction throughout the region. Plywood subfloors — when properly prepared — provide an excellent substrate for hardwood, LVP, laminate, and tile installations. But when they're not prepared correctly, the issues that emerge after the floor is installed are persistent, expensive to fix, and avoidable.
This project involved plywood subfloor preparation as the first phase of a hardwood installation project in an Orlando home. The existing plywood subfloor had developed squeaks from inadequate fastening, panel height differences at panel joints, and some areas of surface irregularity that needed to be addressed before any finish flooring could go down.
Common Plywood Subfloor Issues in Florida Homes
Florida's humidity cycling creates specific stresses on plywood subfloors that differ from climates with more stable conditions:
Fastener backing-out: Seasonal wood movement from Florida's humidity swings causes nails to gradually back out of joists over time, creating squeaks and panel movement. Re-fastening with screws eliminates this permanently.
Panel edge height differences: Where two sheets of plywood meet, height differences from manufacturing tolerance, installation, or differential moisture movement create ridges that telegraph through any finish flooring installed over them.
Surface contamination: Drywall compound, paint, or other construction debris left on the subfloor surface creates point loads and prevents adhesive from bonding uniformly in glue-down applications.
Soft areas from moisture exposure: If water was ever spilled on the subfloor during construction, or if a plumbing leak occurred, some panel delamination or softening may have occurred and needs to be identified and addressed.
Inadequate fastener spacing from original installation: Older homes were sometimes built with subfloor fastening that met the code at the time but doesn't meet current standards for deflection and performance under modern flooring systems.
Our Preparation Process
Plywood subfloor preparation begins with a systematic walk of the entire floor area — walking every square foot and listening for squeaks, feeling for soft spots, and running a 10-foot straightedge across the surface to identify high and low areas. This inspection step creates a complete picture of what needs to be done before any work begins.
Fastener work: All areas of movement or squeaking are re-fastened with appropriate coarse-thread screws driven at the correct depth — snug but not over-driven to dimple the panel surface. Screw pattern follows joist spacing for maximum holding power.
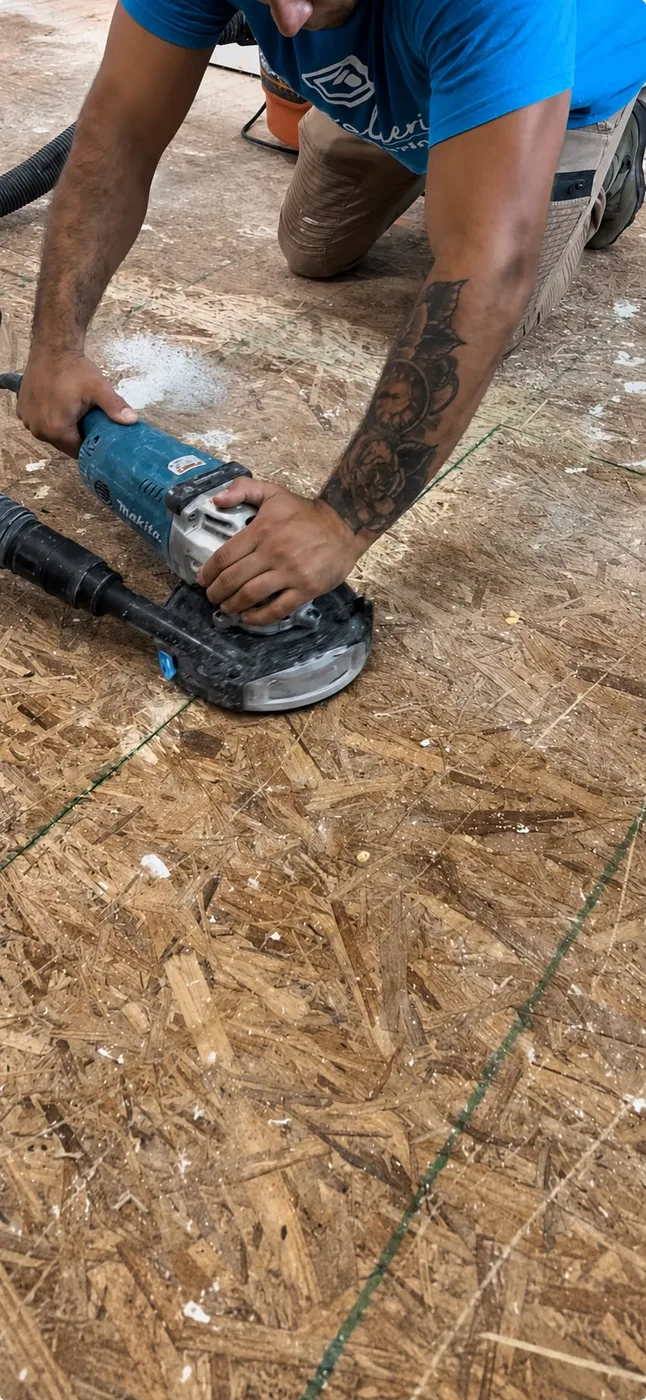
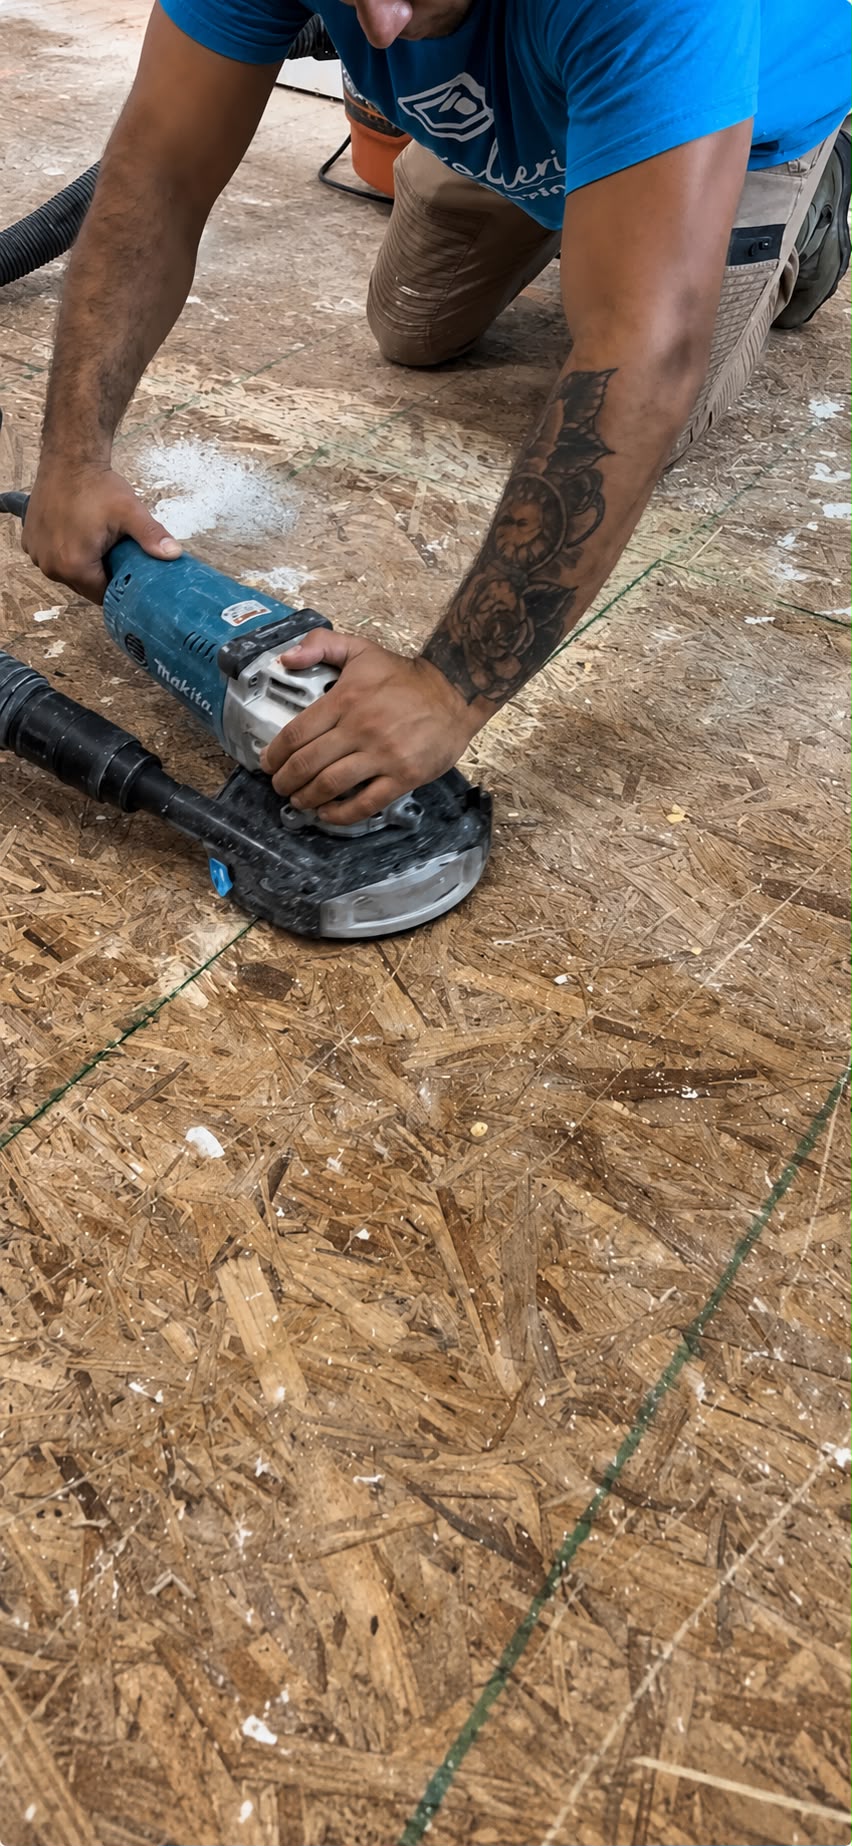
Panel joint smoothing: Panel edge height differences are addressed using a belt sander or power hand planer to bring the high edges down to match the adjacent panel. The target is a smooth transition with no perceptible step at panel joints.
Filling low spots: Depressions, dips, and minor surface irregularities are filled with appropriate floor-leveling compound or wood filler, feathered smooth to the surrounding surface level and allowed to cure before any flooring installation proceeds.
Surface preparation: The entire prepared surface is swept clean and any remaining debris or contaminants removed. A final pass with the straightedge confirms that flatness tolerances are met across the full floor area.
Results: A Foundation Worth Building On
The prepared plywood subfloor was flat, squeak-free, and ready for the hardwood installation that followed. Every step of subfloor preparation that we do is an investment in the longevity of the finish floor — the cost is small relative to the total project, and the alternative is discovering subfloor issues after the floor is installed when addressing them requires removing the new floor first.
All squeaks eliminated — panels re-fastened with screws into joists
Panel joint edges sanded smooth — no ridges or transitions
Low spots filled to within flatness tolerance for specified flooring
Surface clean and contamination-free before flooring installation
Prepared plywood subfloor ready for the new flooring installation.
Frequently Asked Questions
Plywood subfloor preparation involves: (1) checking all panels for squeaks and securing any that are loose or inadequately fastened; (2) driving or removing all protruding fasteners; (3) filling holes, gaps, and panel joints that could telegraph through new flooring; (4) sanding or belt-sanding panel transitions to eliminate height differences at panel edges; and (5) verifying overall flatness with a straightedge before allowing flooring installation to proceed.
Plywood subfloor squeaks occur when panels rub against each other, against fasteners, or against the joists below — caused by loose fasteners, inadequate fastener density, panel movement from humidity cycling, or joist deflection. The fix depends on the cause: re-fastening with screws from above is the most reliable solution for loose panels. Construction adhesive between the panel and joist permanently eliminates movement-based squeaks but requires access from below.
Flatness requirements vary by flooring type. Most nail-down and floating hardwood products specify no more than 3/16 inch over 10 feet. LVP products typically specify 3/16 inch over 10 feet or 1/8 inch over 6 feet. Large-format tile requires stricter tolerances of 1/8 inch over 10 feet. All panel transitions (where two sheets of plywood meet) must be within 1/8 inch height difference or floor coverings will show a ridge or flex across the joint.
Screws are significantly superior to nails for subfloor fastening. Ring-shank nails are better than smooth nails, but screws provide the highest pullout resistance and the lowest incidence of squeaking over time. For new subfloor panels, we use coarse-thread wood screws at appropriate spacing into the joists below. For re-securing existing panels, screws driven through the existing fastener pattern provide a permanent, squeak-eliminating fix.
Yes. Plywood subfloor preparation is a standard part of our hardwood installation service for homes on wood-framed construction across Orlando and Central Florida. We assess the subfloor condition before installation begins and perform whatever preparation is needed to create the flat, stable, squeak-free surface that your new floor deserves.