This Winter Garden project combined subfloor replacement with a
new flooring installation while the client continued staying in
the home. The work required more than removing damaged material:
the crew had to sequence the
floor removal, subfloor
replacement, and finish installation so the home remained
organized and usable throughout the project.
Cavalieri Flooring protected adjacent areas, established a defined
work zone, and kept the client informed about access and daily
progress. That coordination is an important part of
residential flooring installation
when the customer remains on site instead of moving out during
construction.
The Challenge: Repairing the Subfloor While the Client Stayed Home
The Winter Garden homeowner needed the damaged subfloor repaired and the
flooring installation completed without moving out. Opening the floor
exposed the joists and created a temporary construction zone inside the
home, so the work had to be planned around the client's daily routines,
safe access, and the need to keep dust and debris contained.
Before moving into the repair phase, the team documented the affected
area, protected nearby surfaces, and explained the sequence for
subfloor preparation and repair. The client could remain in the home while the crew concentrated work
in the affected space and maintained clear pathways wherever possible.
How Subfloor Damage is Identified
The subfloor assessment process begins as soon as the existing finish
flooring is removed. We systematically check every panel for:
Soft spots: Using foot pressure and a probe, we
identify panels that are no longer suitable for the flooring assembly
— areas where the plywood has delaminated internally or where the wood
fibers have been compromised by moisture, reducing the panel’s
stiffness or ability to hold flooring fasteners properly.
Visible staining: Water staining or discoloration may
indicate an unresolved moisture issue requiring further evaluation
before the flooring assembly is closed.
Odor: Musty odors may indicate an unresolved moisture
issue requiring further evaluation before new subfloor panels and
flooring are installed.
Panel delamination: When moisture penetrates plywood,
the layers of the panel can separate — creating a spongy feel and
compromising the panel's ability to accept and hold fasteners.
Before: Subfloor Replacement
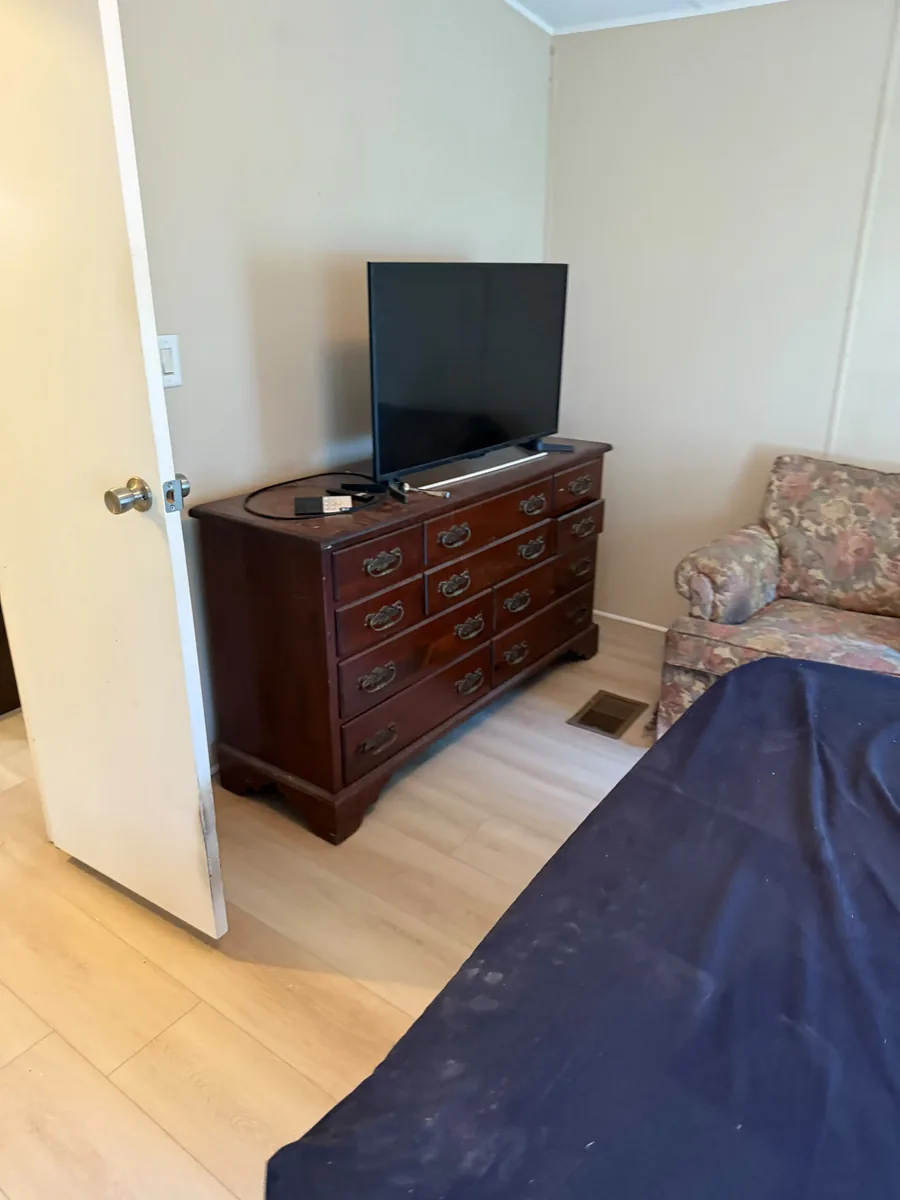
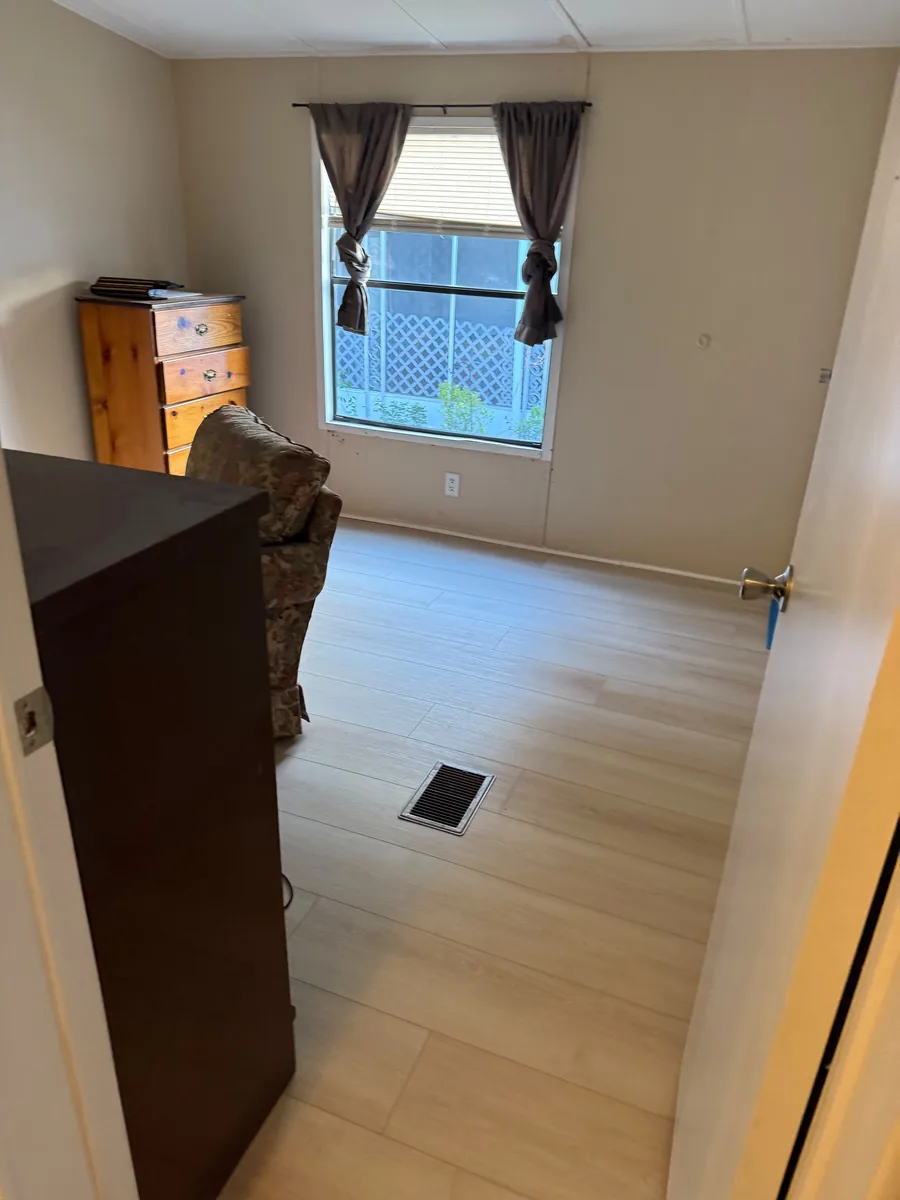
After: Vinyl Flooring Installation
What the Crew Found
Moisture-damaged material was documented after the existing flooring
was removed.
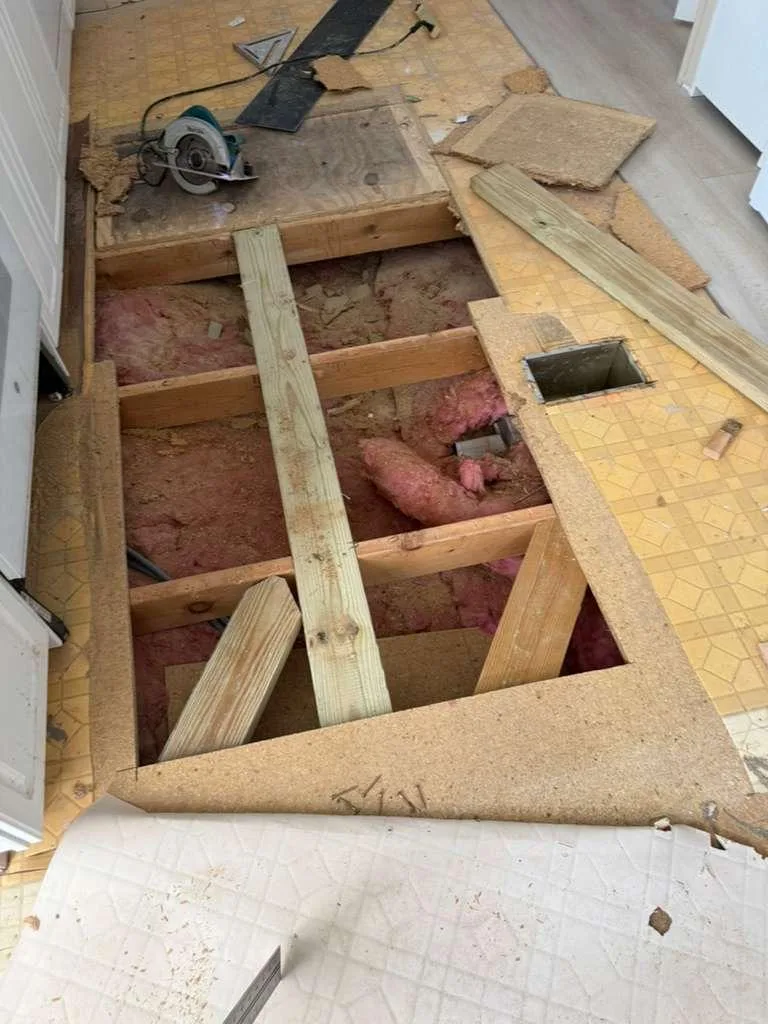
Once the finish flooring was opened, the affected kitchen area
showed moisture-damaged material and exposed framing. This is why
the repair could not be treated as a surface-level flooring change:
the compromised panels had to be removed before a new floor could be
installed.
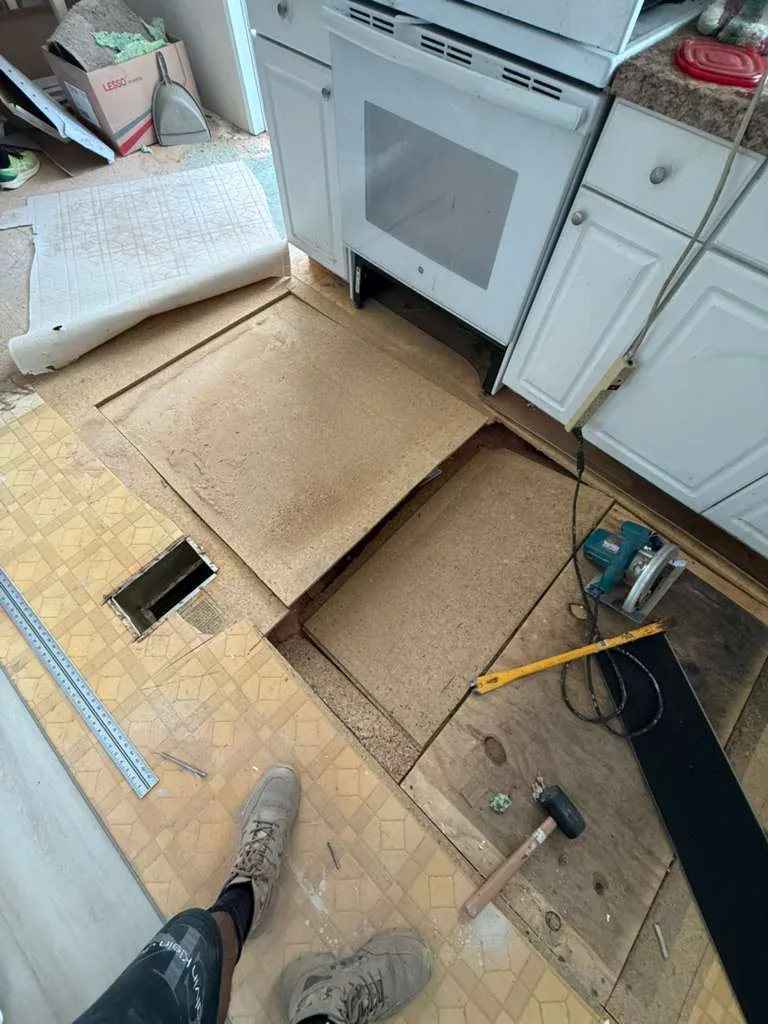
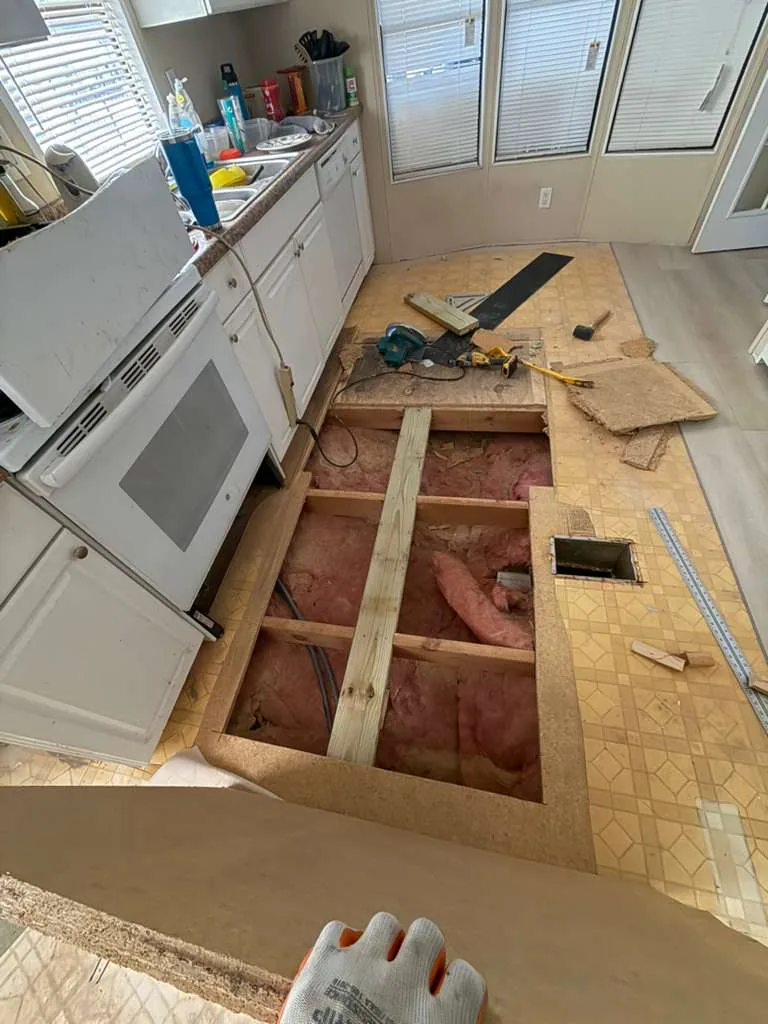
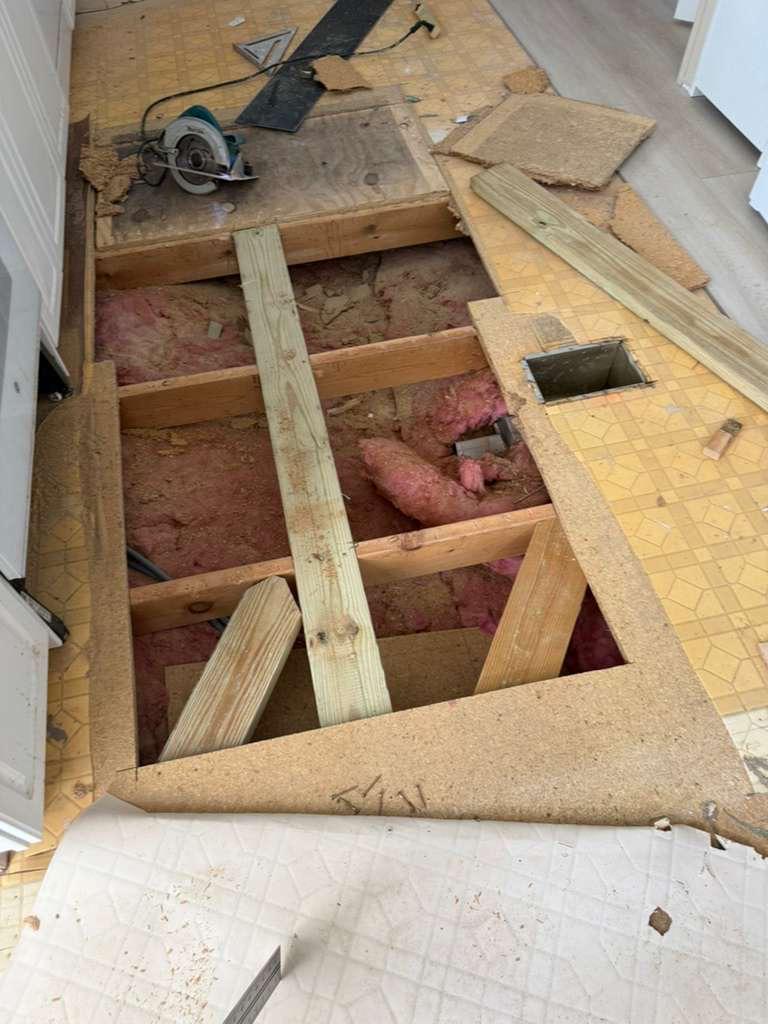
The kitchen work zone after the damaged subfloor panels were cut
out.
The damaged sections were cut back to supported joist lines and
removed from the work area. The exposed framing was then inspected
before the replacement panels were fitted.
Our Approach: Subfloor Replacement and Flooring Installation in Phases
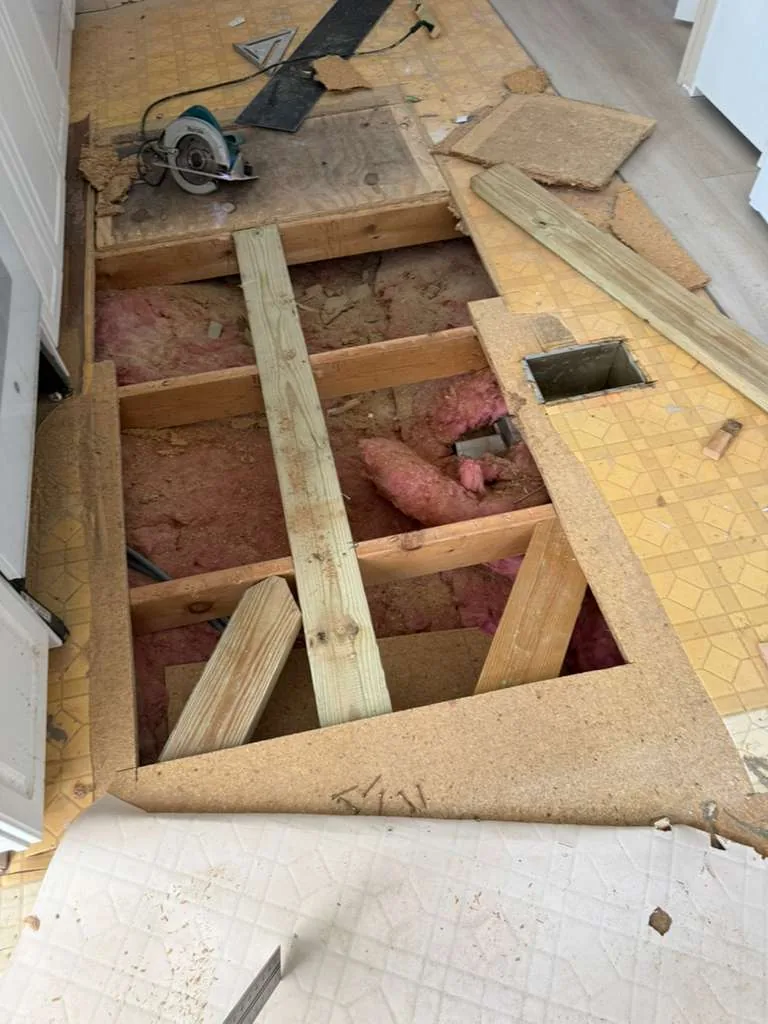
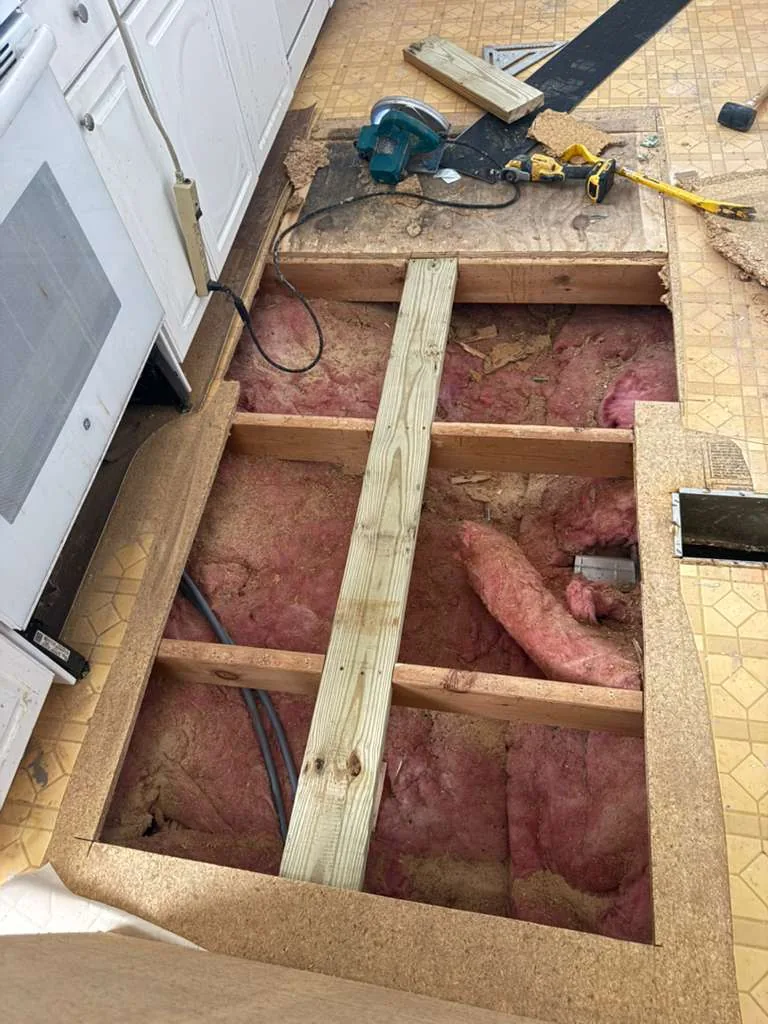
Damaged panel removal prepared the kitchen area for replacement
plywood.
Subfloor replacement begins with cutting out the damaged panels to
the nearest joist lines on both sides — subfloor panels must break
over joists to be properly supported at their edges. The damaged
material is removed and disposed of, and the exposed framing is
inspected before replacement panels are installed.
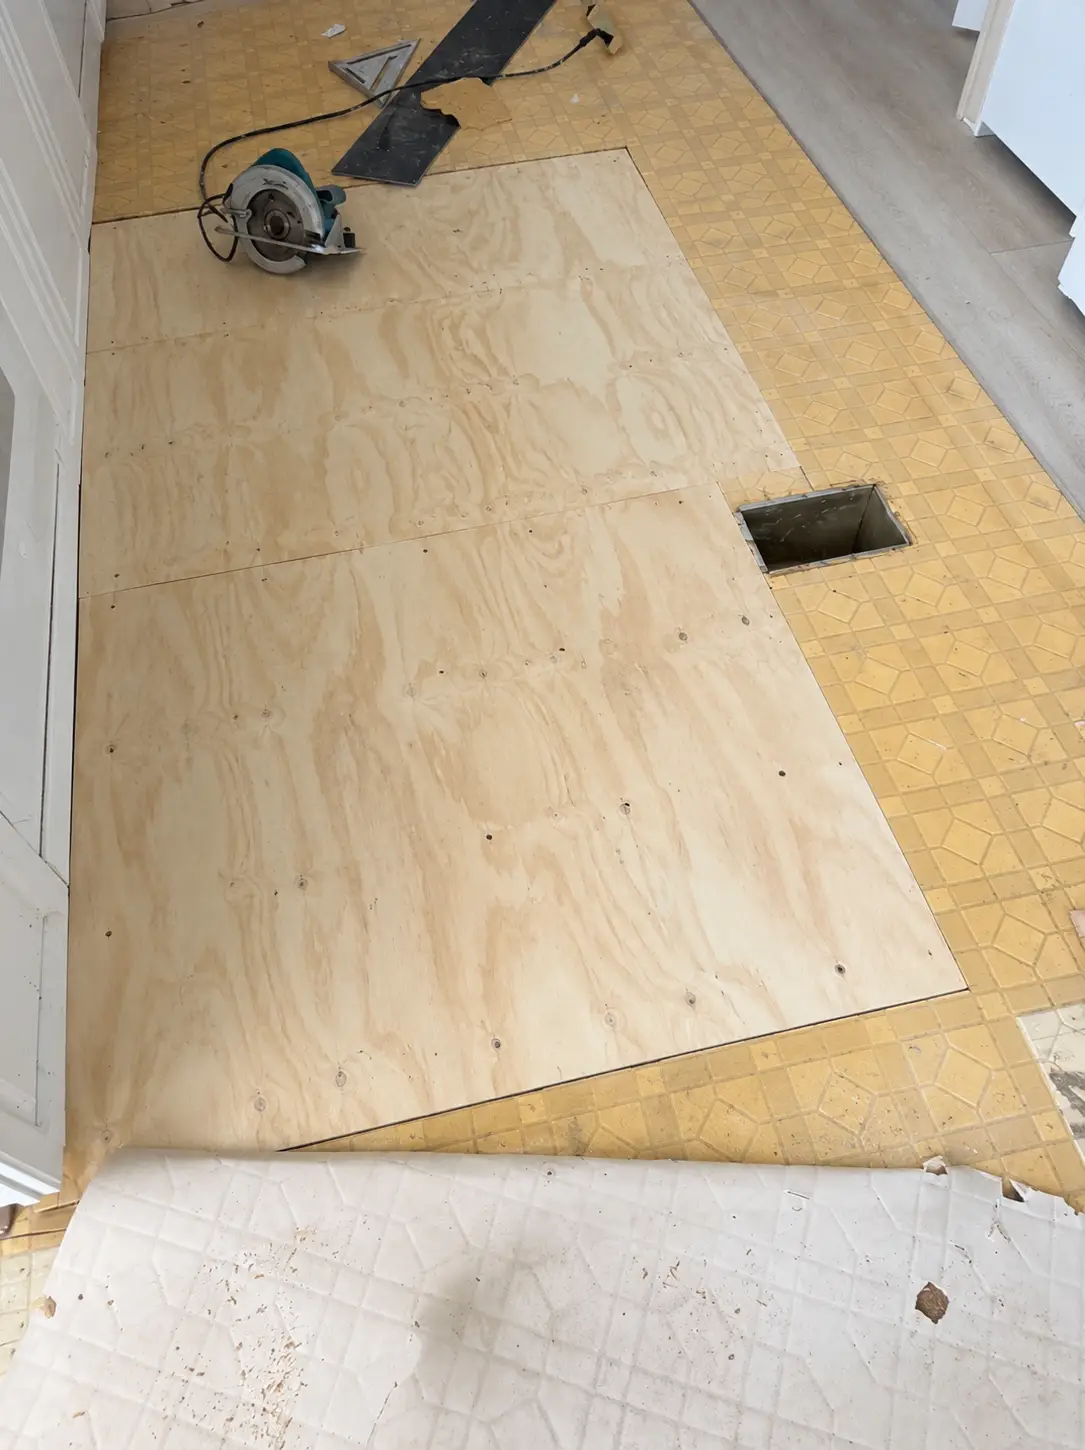
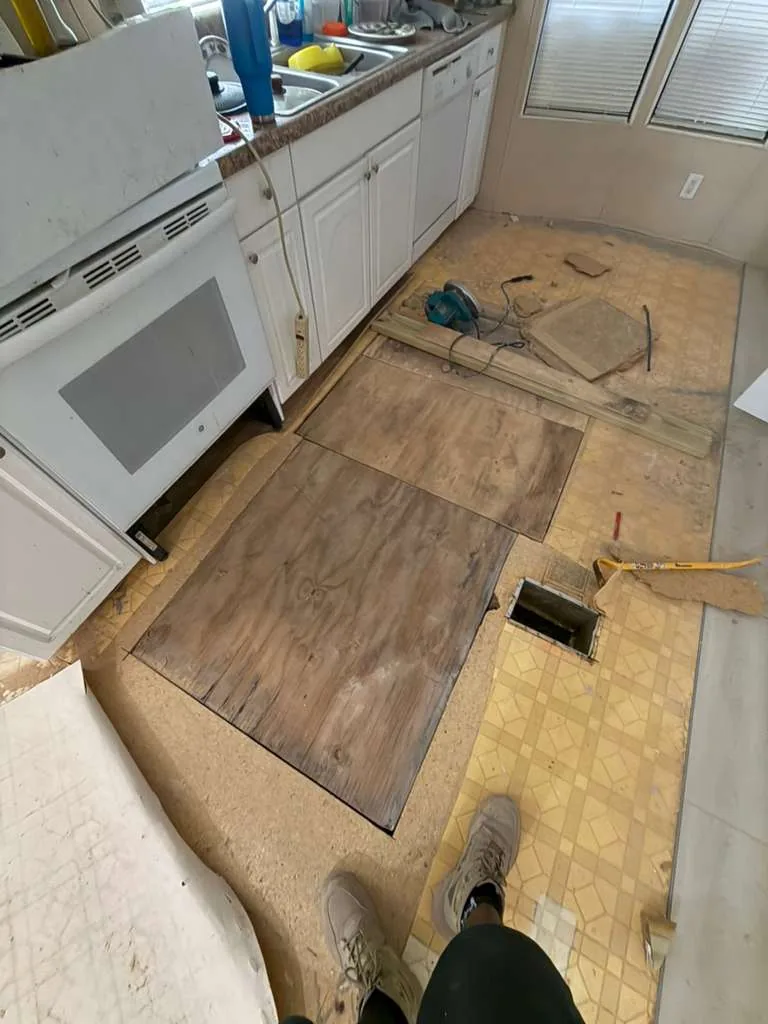
New plywood being fitted after the damaged panel was removed.
New tongue-and-groove plywood panels of matching thickness are cut
and installed, fastened to the joists at the specified pattern with
screws. Panel edges are checked for flush alignment with the
surrounding floor, with sanding or shimming used where needed to
create a flat, continuous surface for the next
floor leveling and substrate preparation
steps.
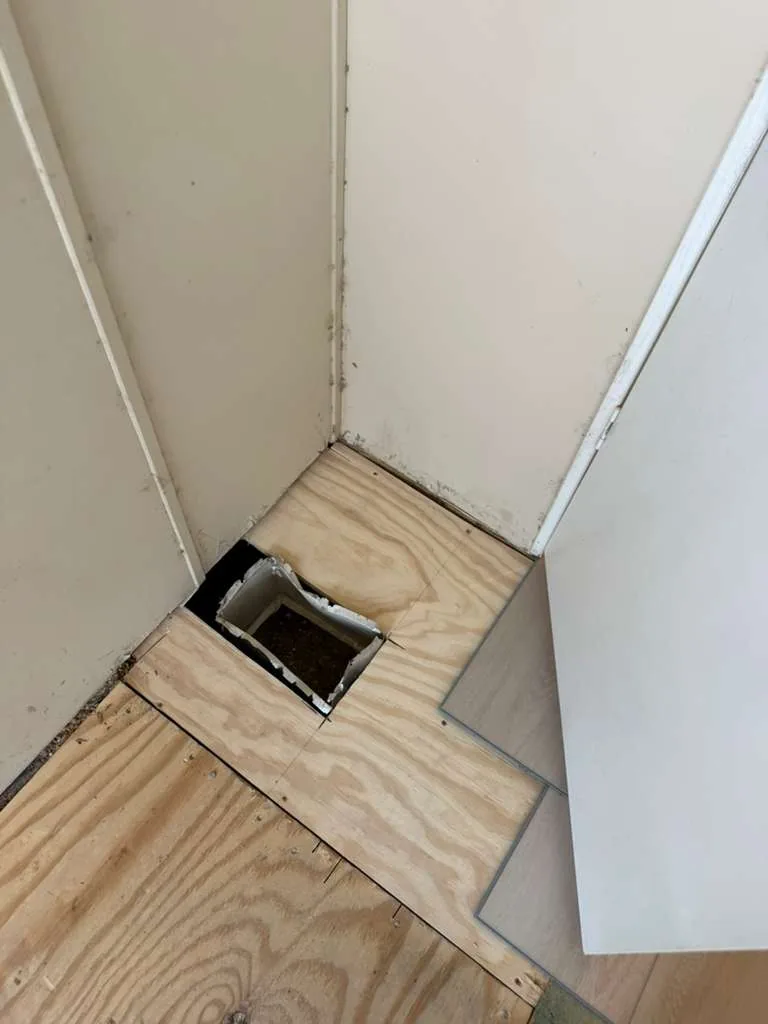
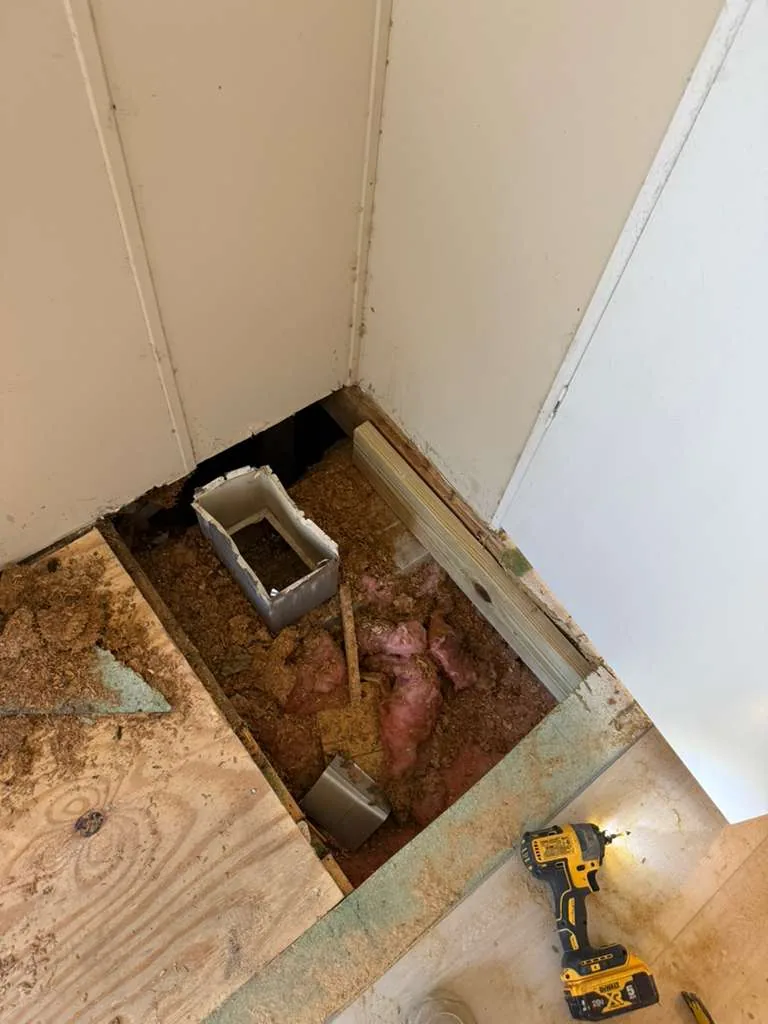
New plywood secured at the hallway corner and prepared for the
finish flooring.
At the hallway corner, the same process created a stable transition
between the repaired section and the existing subfloor. After the
new panels were secure, the surface was verified within tolerance
and free of remaining moisture issues before the crew proceeded with
the specified
vinyl flooring installation.
Results: A Repaired Subfloor and Coordinated Installation
The project addressed the compromised subfloor before the new finish
floor was installed, while keeping the client's occupied-home schedule
in mind. Identifying and correcting the problem during the renovation
created a safer, more stable base for the flooring installation instead
of covering the damage and risking future failure.
Damaged panels fully removed — no compromised material left in place
Exposed framing inspected, with out-of-scope concerns documented and
coordinated appropriately
New T&G plywood installed and screwed to joists at full pattern
Panel edges flush and within flatness tolerance
New flooring installation coordinated around the client remaining in
the home
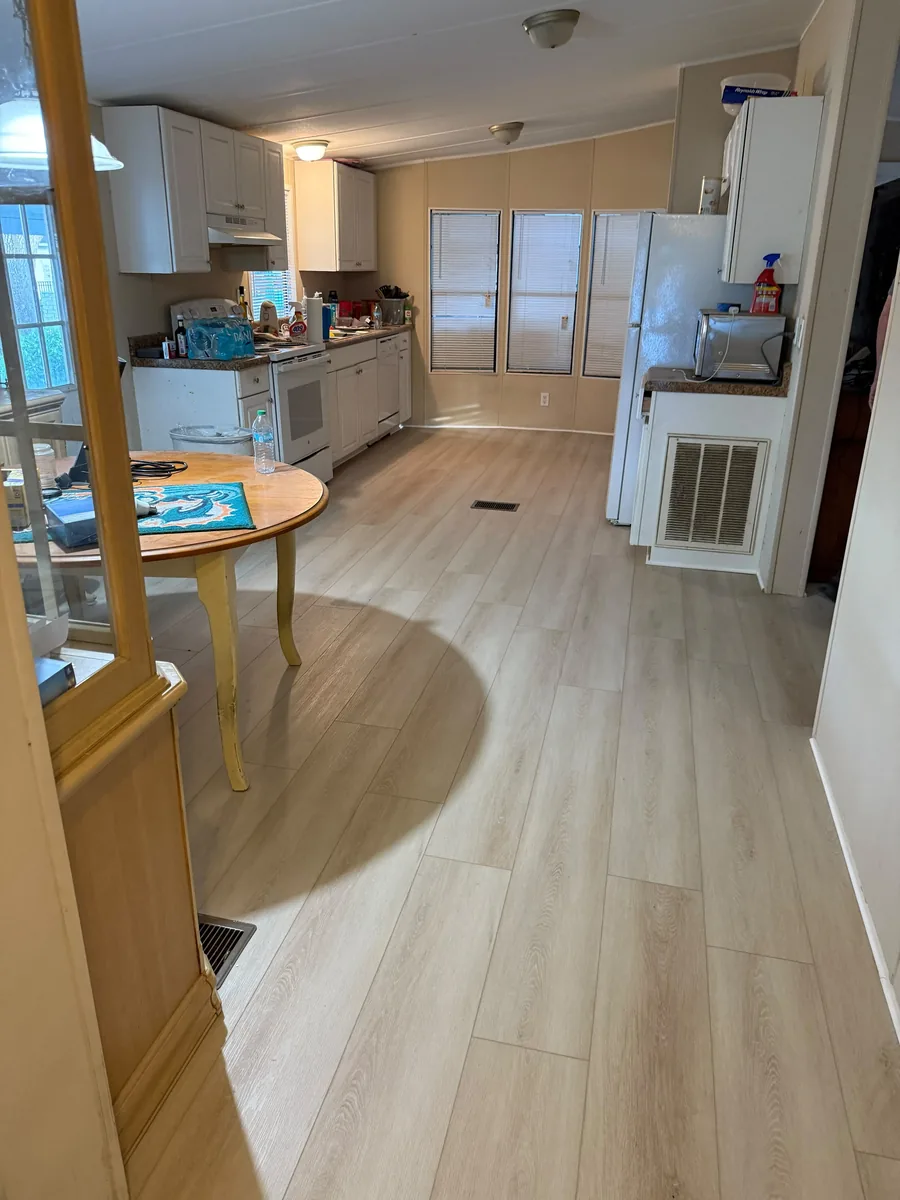
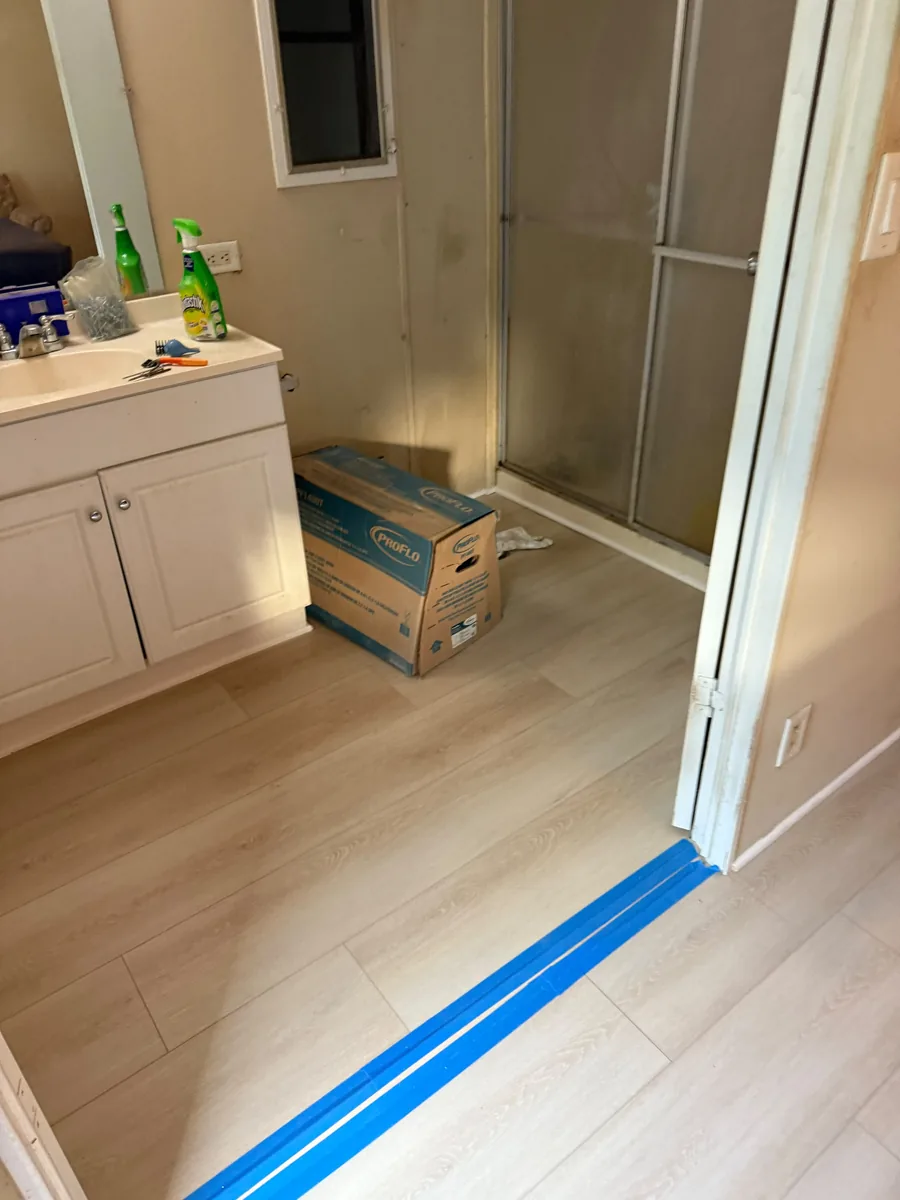
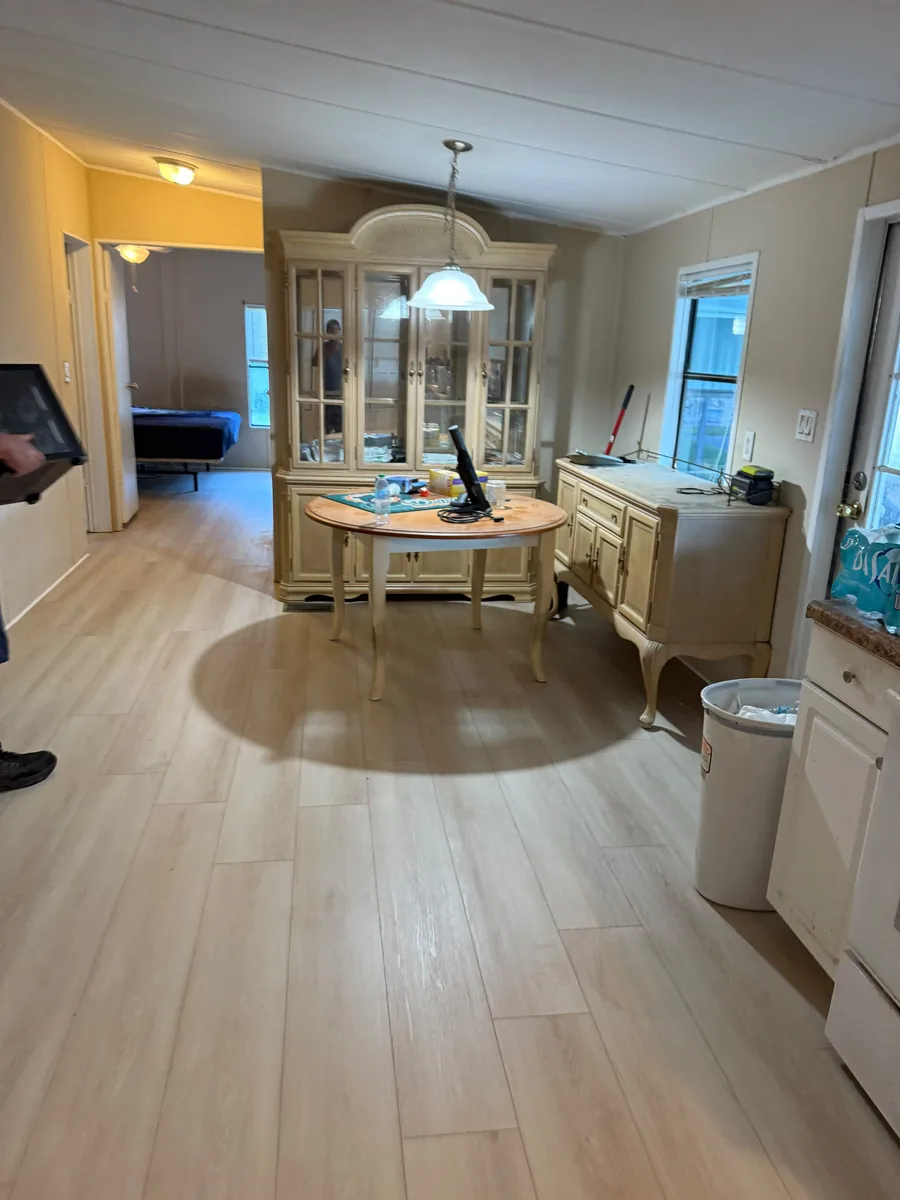
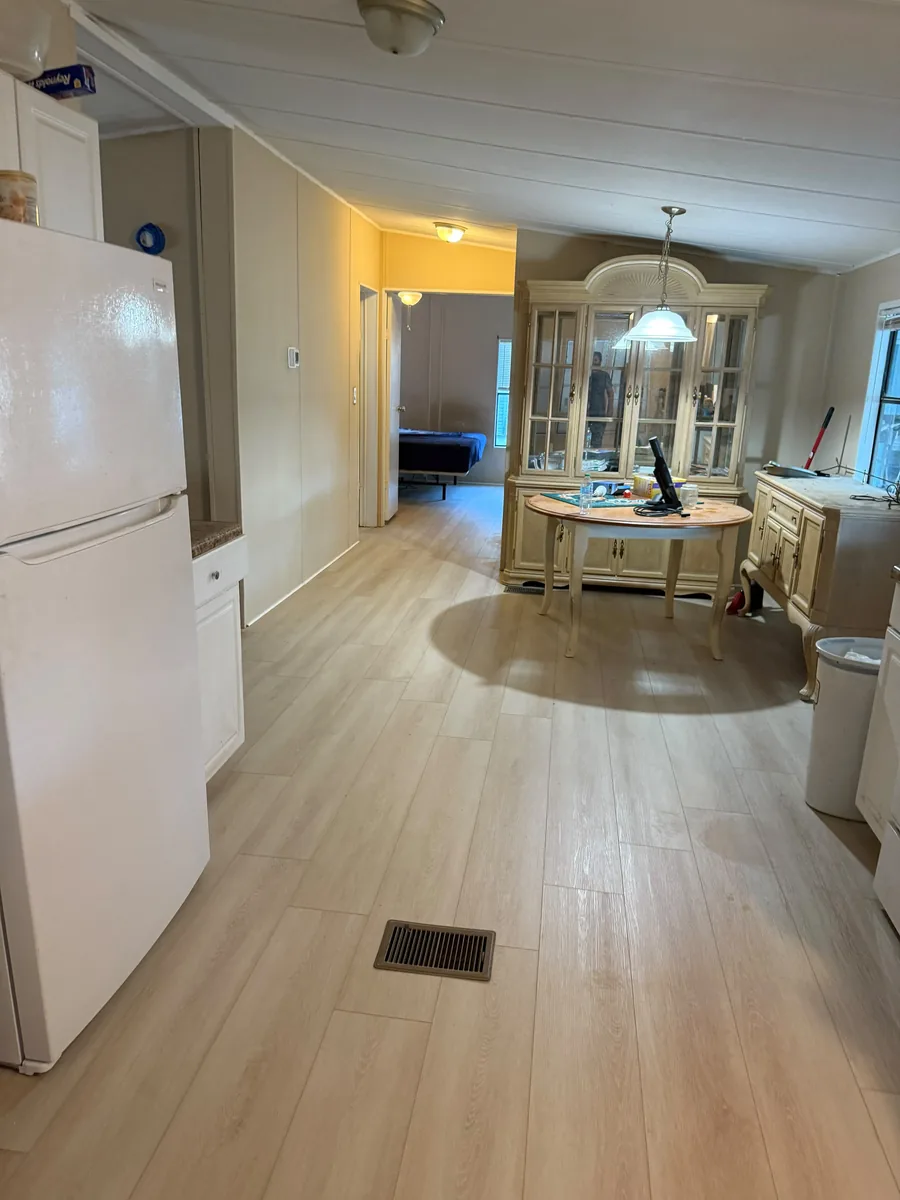
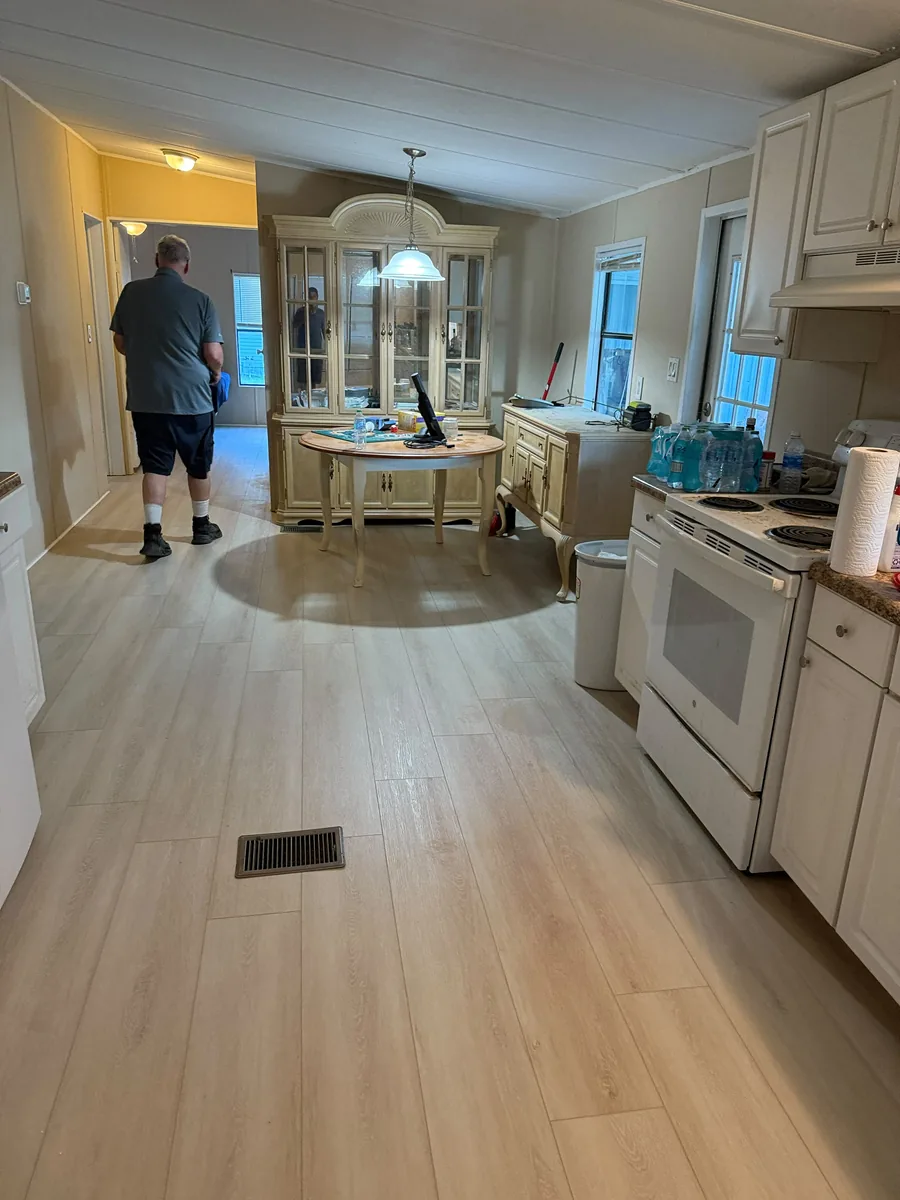
Completed vinyl flooring in the kitchen after the subfloor work was
finished.
With the subfloor replacement complete, the crew continued through
the home in manageable sections. The finished vinyl flooring
connected the kitchen and dining spaces while keeping the occupied
home usable during the work.
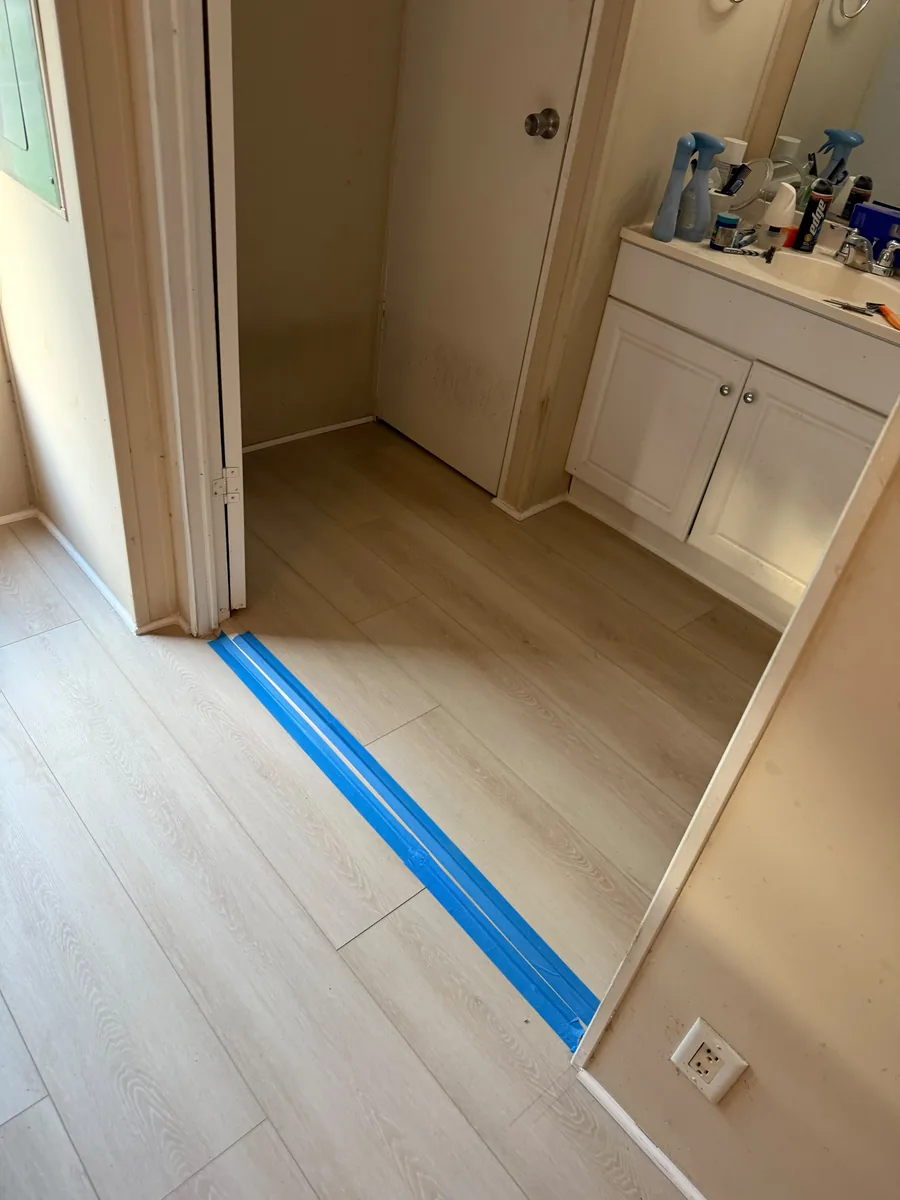
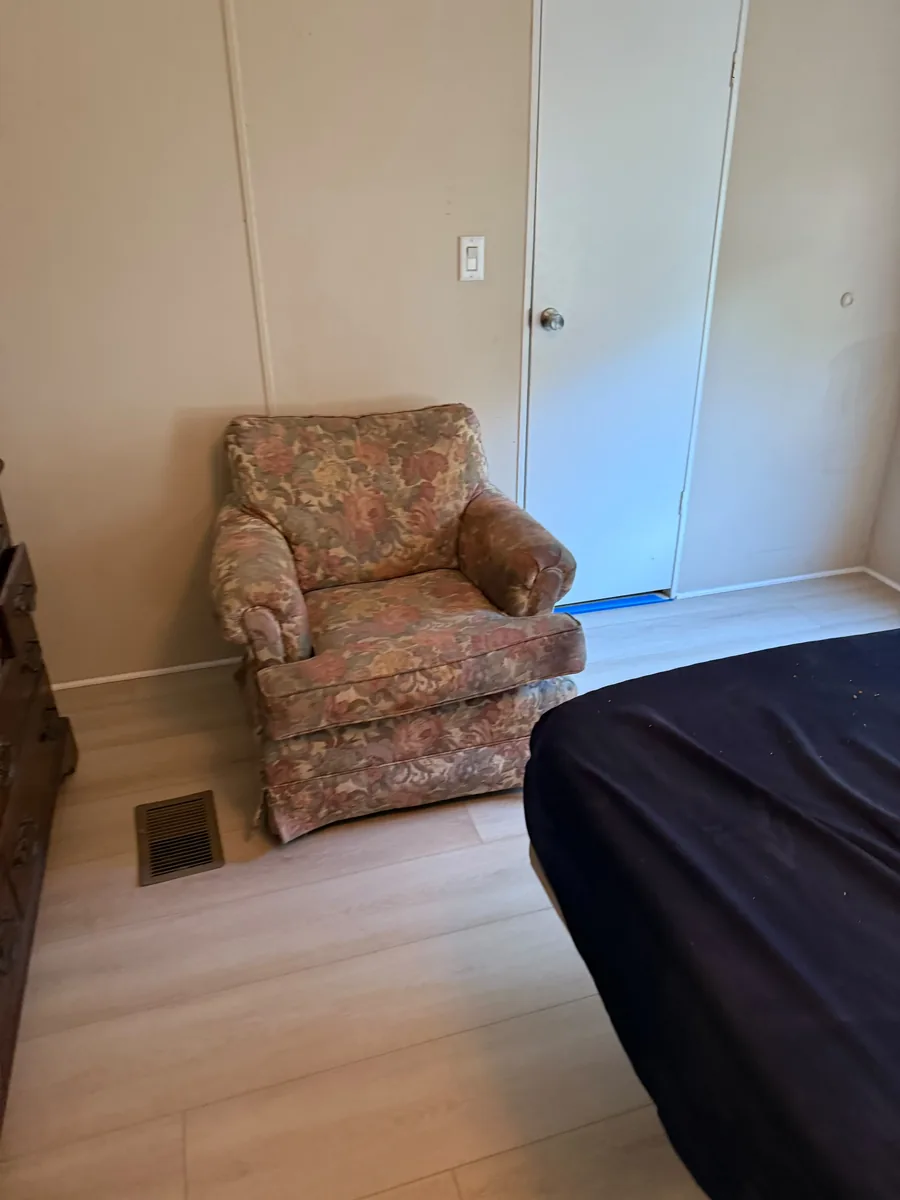
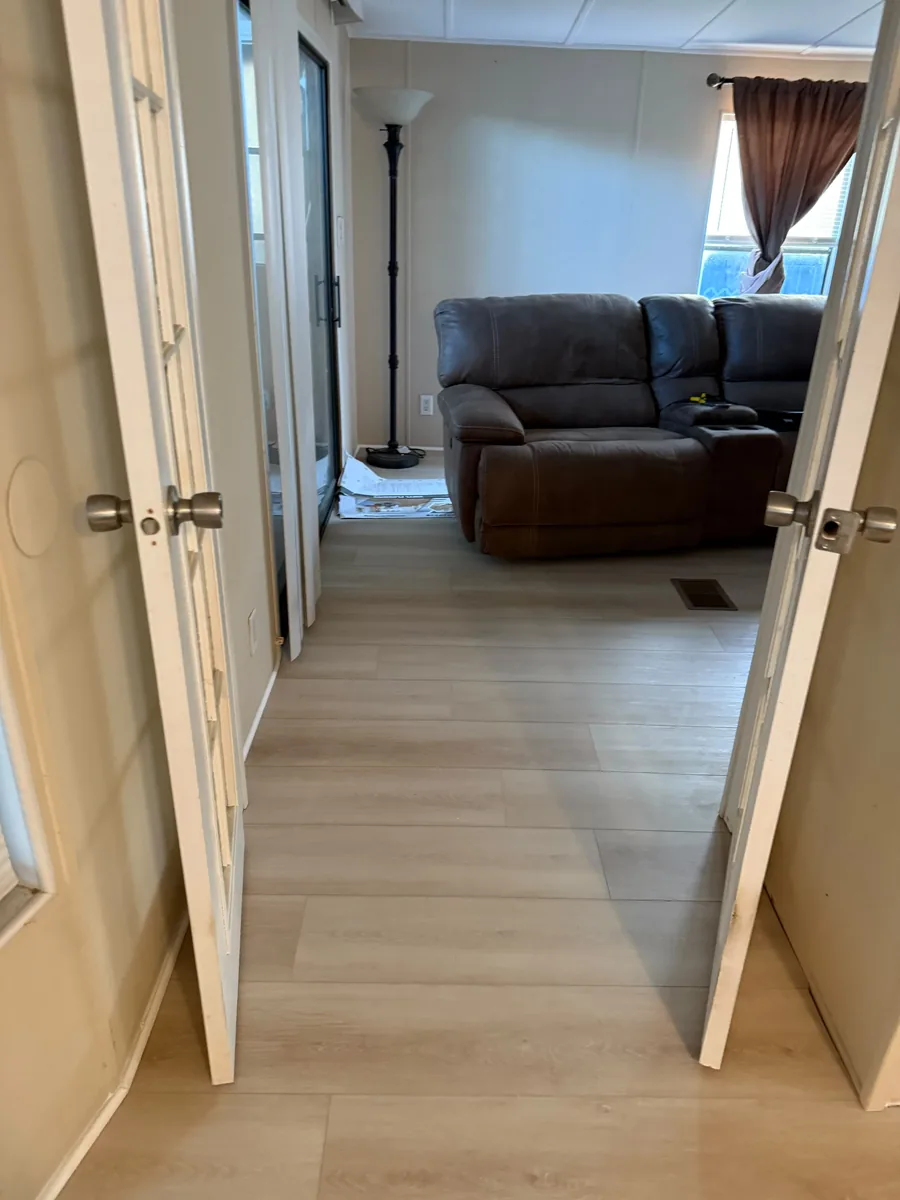
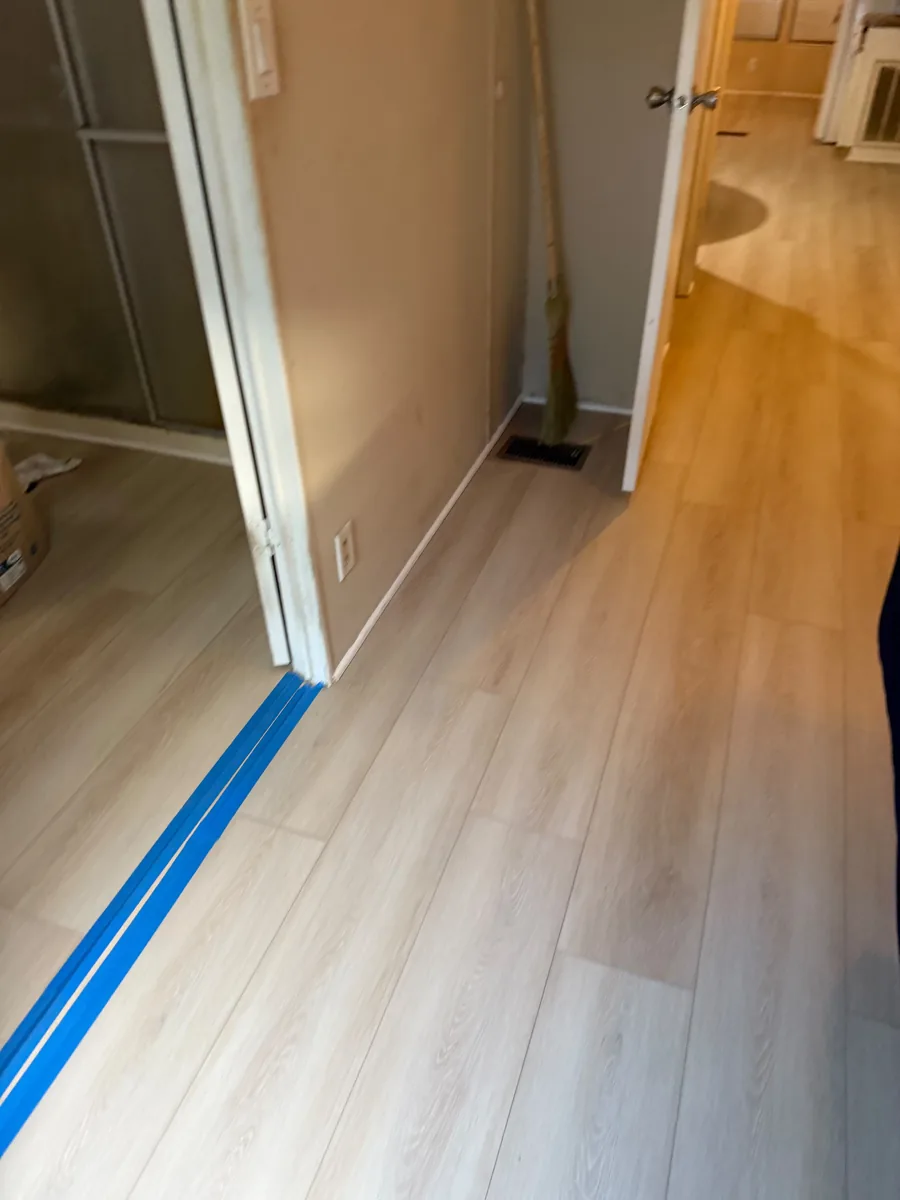
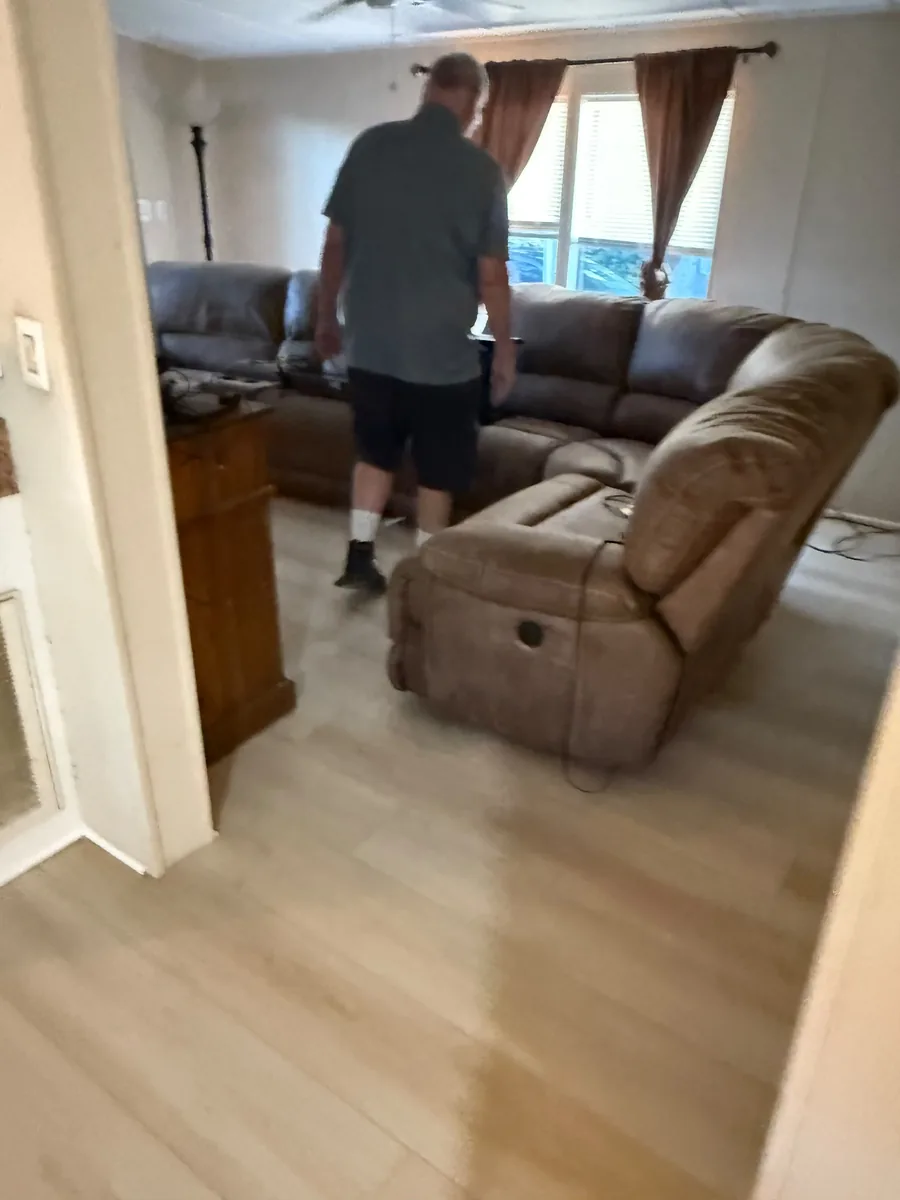
The finished vinyl floor continues from the entry hallway into the
living room.
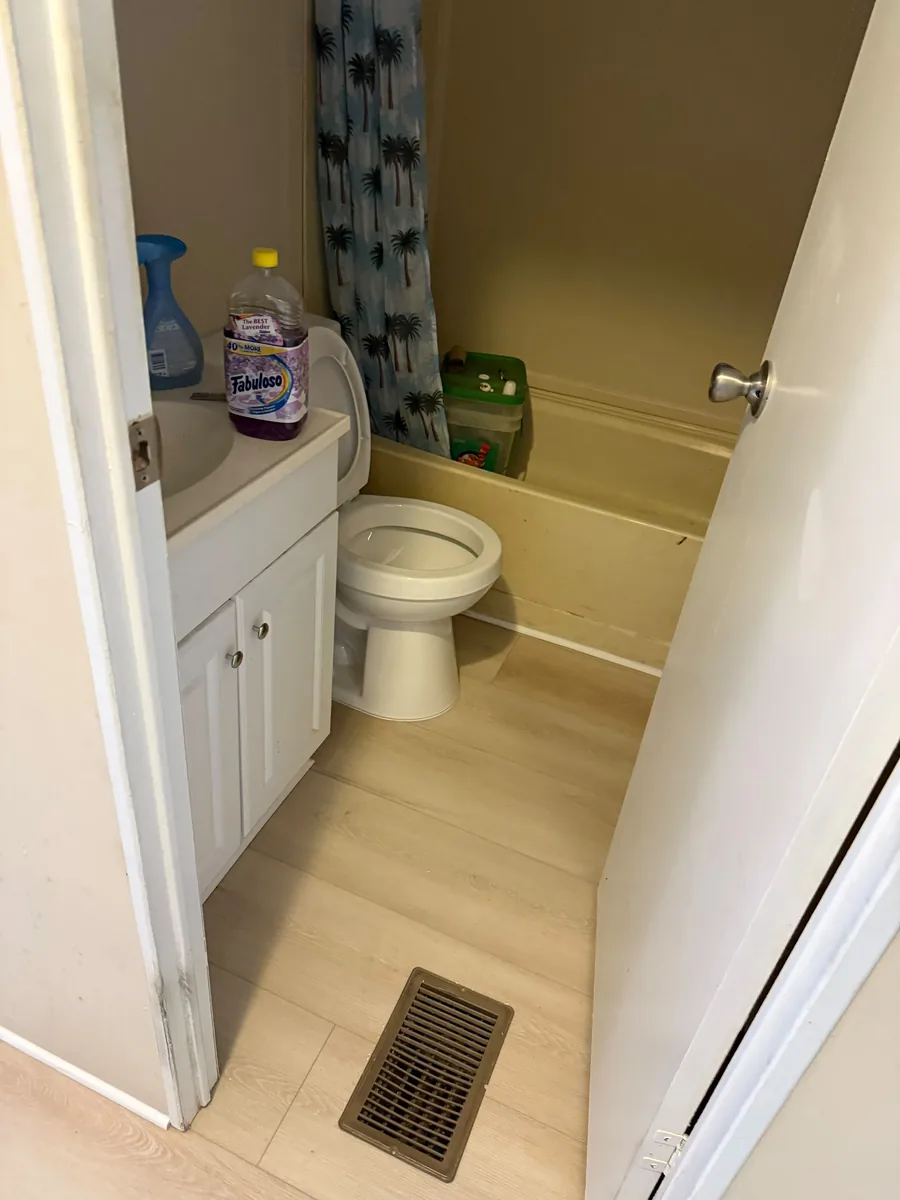
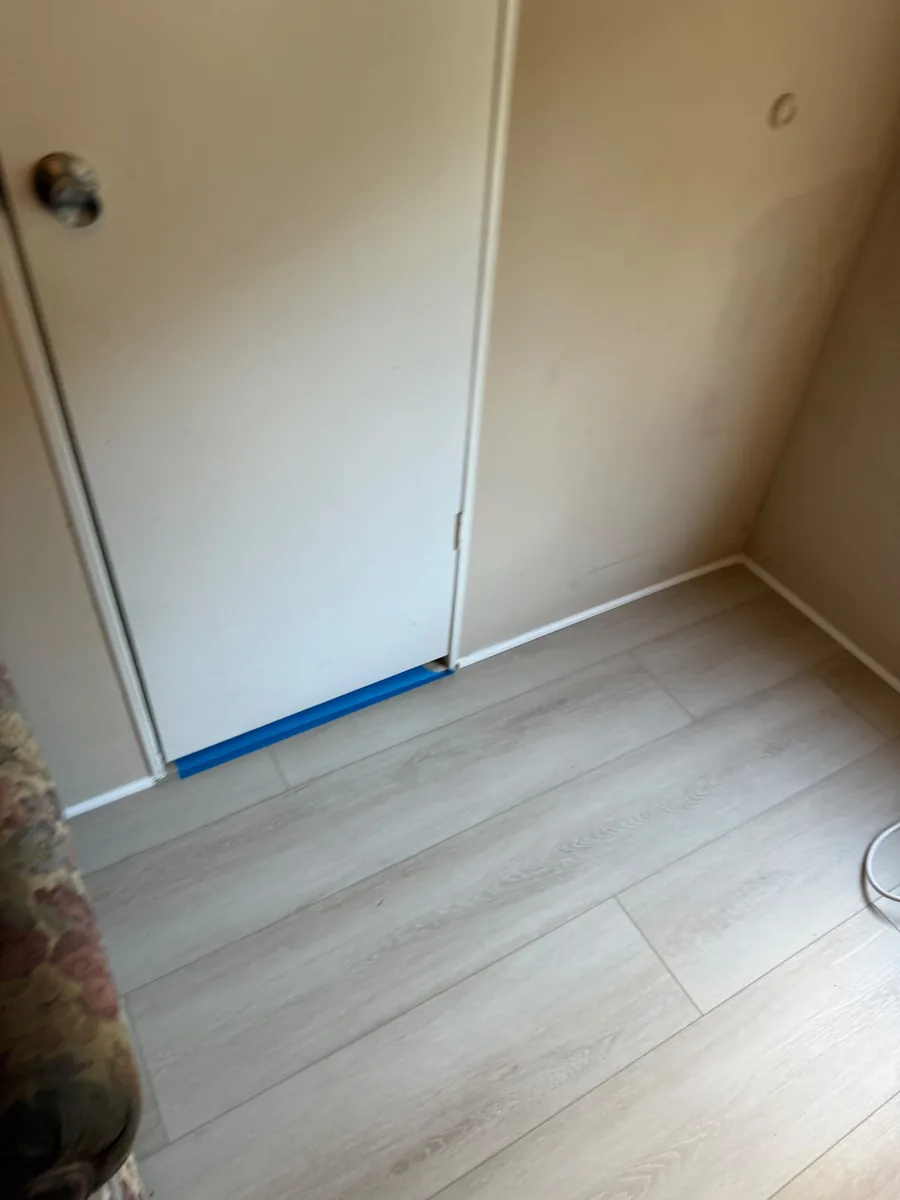
The installation continued through the living areas, bedrooms, and
bathroom. Rather than covering the original damage, the project
addressed the compromised base first and then delivered the
coordinated finish floor the homeowner needed.
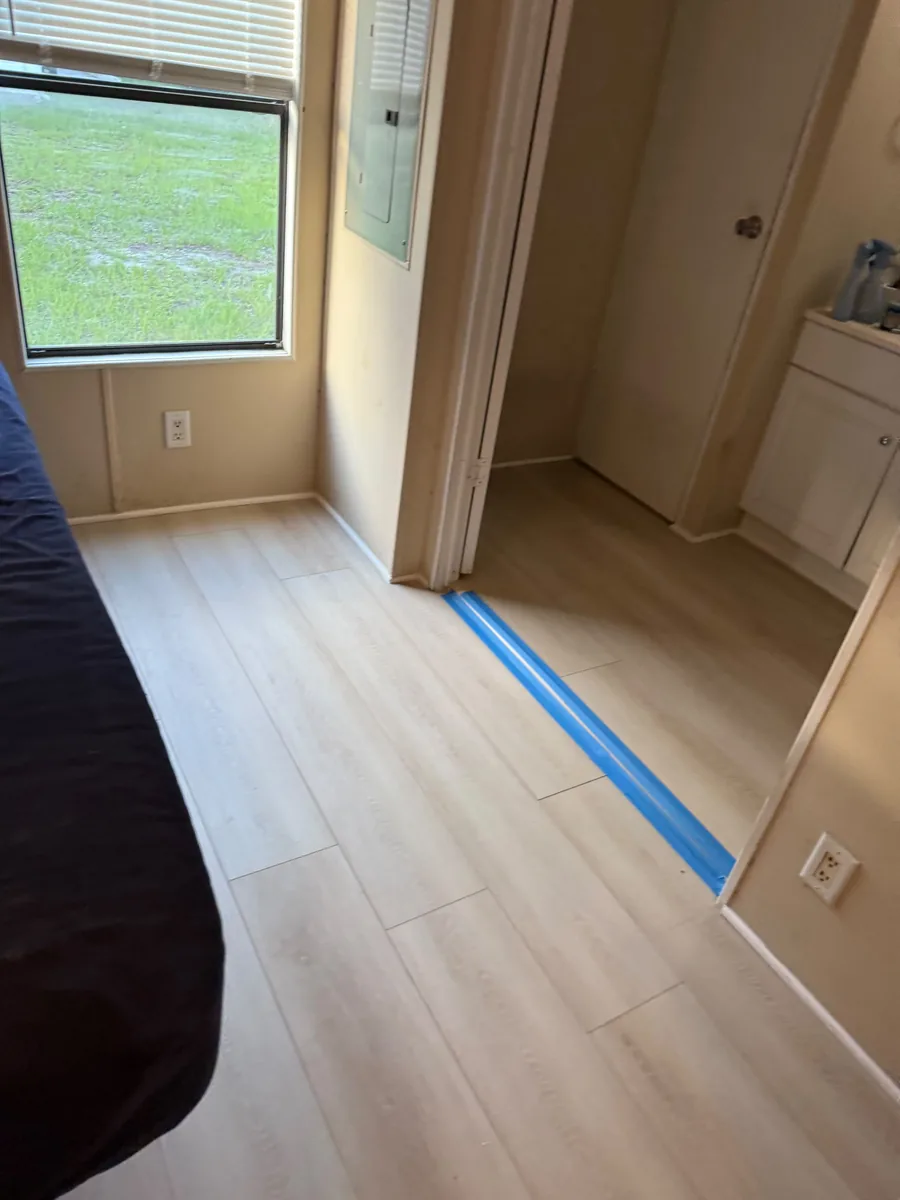
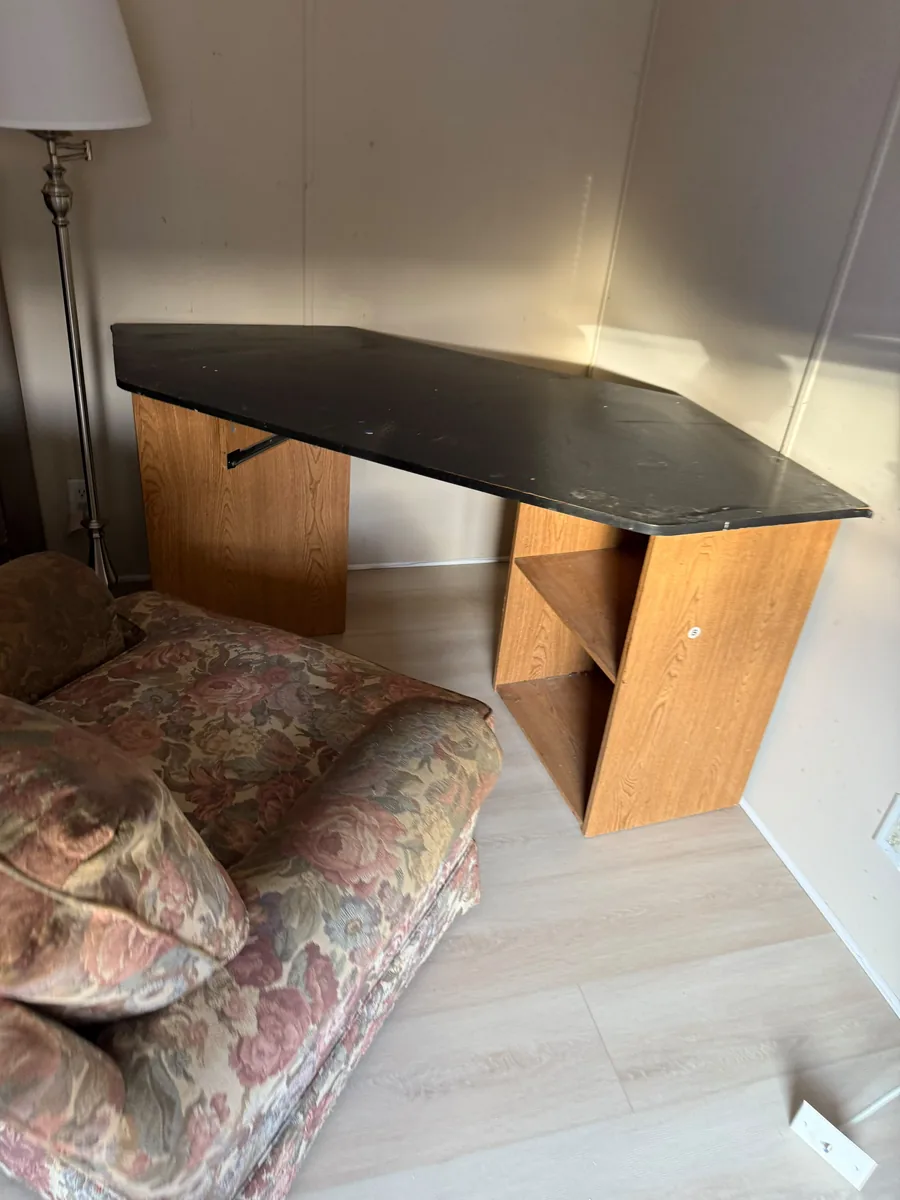
Completed vinyl flooring installation after the damaged subfloor was
replaced.
Frequently Asked Questions
Signs that a subfloor needs replacement include soft, spongy, or
springy feel underfoot (especially in isolated areas), visible water
staining or discoloration when the finish flooring is removed, a musty
smell indicating moisture damage or mold below the floor surface, and
panels that show visible delamination (layers separating). Cavalieri
Flooring assesses subfloor condition during any flooring removal and
clearly communicates what we find before proceeding with any
replacement work.
The most common cause of subfloor damage in Florida homes is water
intrusion — from plumbing leaks, toilet flange failures, HVAC
condensate line overflows, flooding, or prolonged exposure to high
humidity under improperly installed flooring. Florida's hot, humid
climate accelerates mold growth and wood deterioration when moisture
is present. Bathrooms, kitchens, and laundry areas are the most common
locations for subfloor damage.
When suspected microbial growth or extensive water damage is found,
the moisture source must be corrected and the affected area may need
evaluation or remediation by a qualified professional before new
subfloor panels and flooring are installed.
Replacement panels should match the approved thickness, grade and edge
profile required for the existing floor assembly. Panel selection and
fastening depend on the joist spacing, existing construction, panel
rating and finish-floor requirements.
Yes. Subfloor replacement is part of our flooring installation service
for homes requiring subfloor replacement before new flooring can be
installed. We handle the subfloor replacement as part of the flooring
project and coordinate any concerns outside the flooring scope with
the appropriate project professional. Contact us for a free estimate
that includes subfloor inspection.